
Still deciding? See what CPD Certificates in Continuum Learn can do for your organisation.
A certificate template controls how your certificates look and what they say. You design it once, then choose it for each course. When a learner completes the course, Continuum issues the certificate automatically, with a unique number, the award date and, if you want them, CPD hours and an expiry date.
Use this guide to set up your templates and switch certificates on for a course. To award one certificate for a group of courses, see How to set up a programme. For digitally signed badges, see micro-credentials.
Who can do this: team admins. Templates live under Manage > Settings > Certificates. Course authors can then turn certificates on in the course settings.
Before you start
- Prepare your artwork. A background image for A4 landscape (2500px x 1773px), your logos (up to three) and, if you want them, signature images.
- Decide your wording. Know what the certificate should say, and which details to print (CPD hours, expiry date, certificate number).
Create a certificate template
Every team starts with one template called Default. You can edit it or create new ones.
- Go to Manage > Settings > Certificates.
- Click New Template. (To change an existing one, click its card.)
- Work down the page. Your changes appear in the Preview on the right as you make them.
- Click Save Changes.
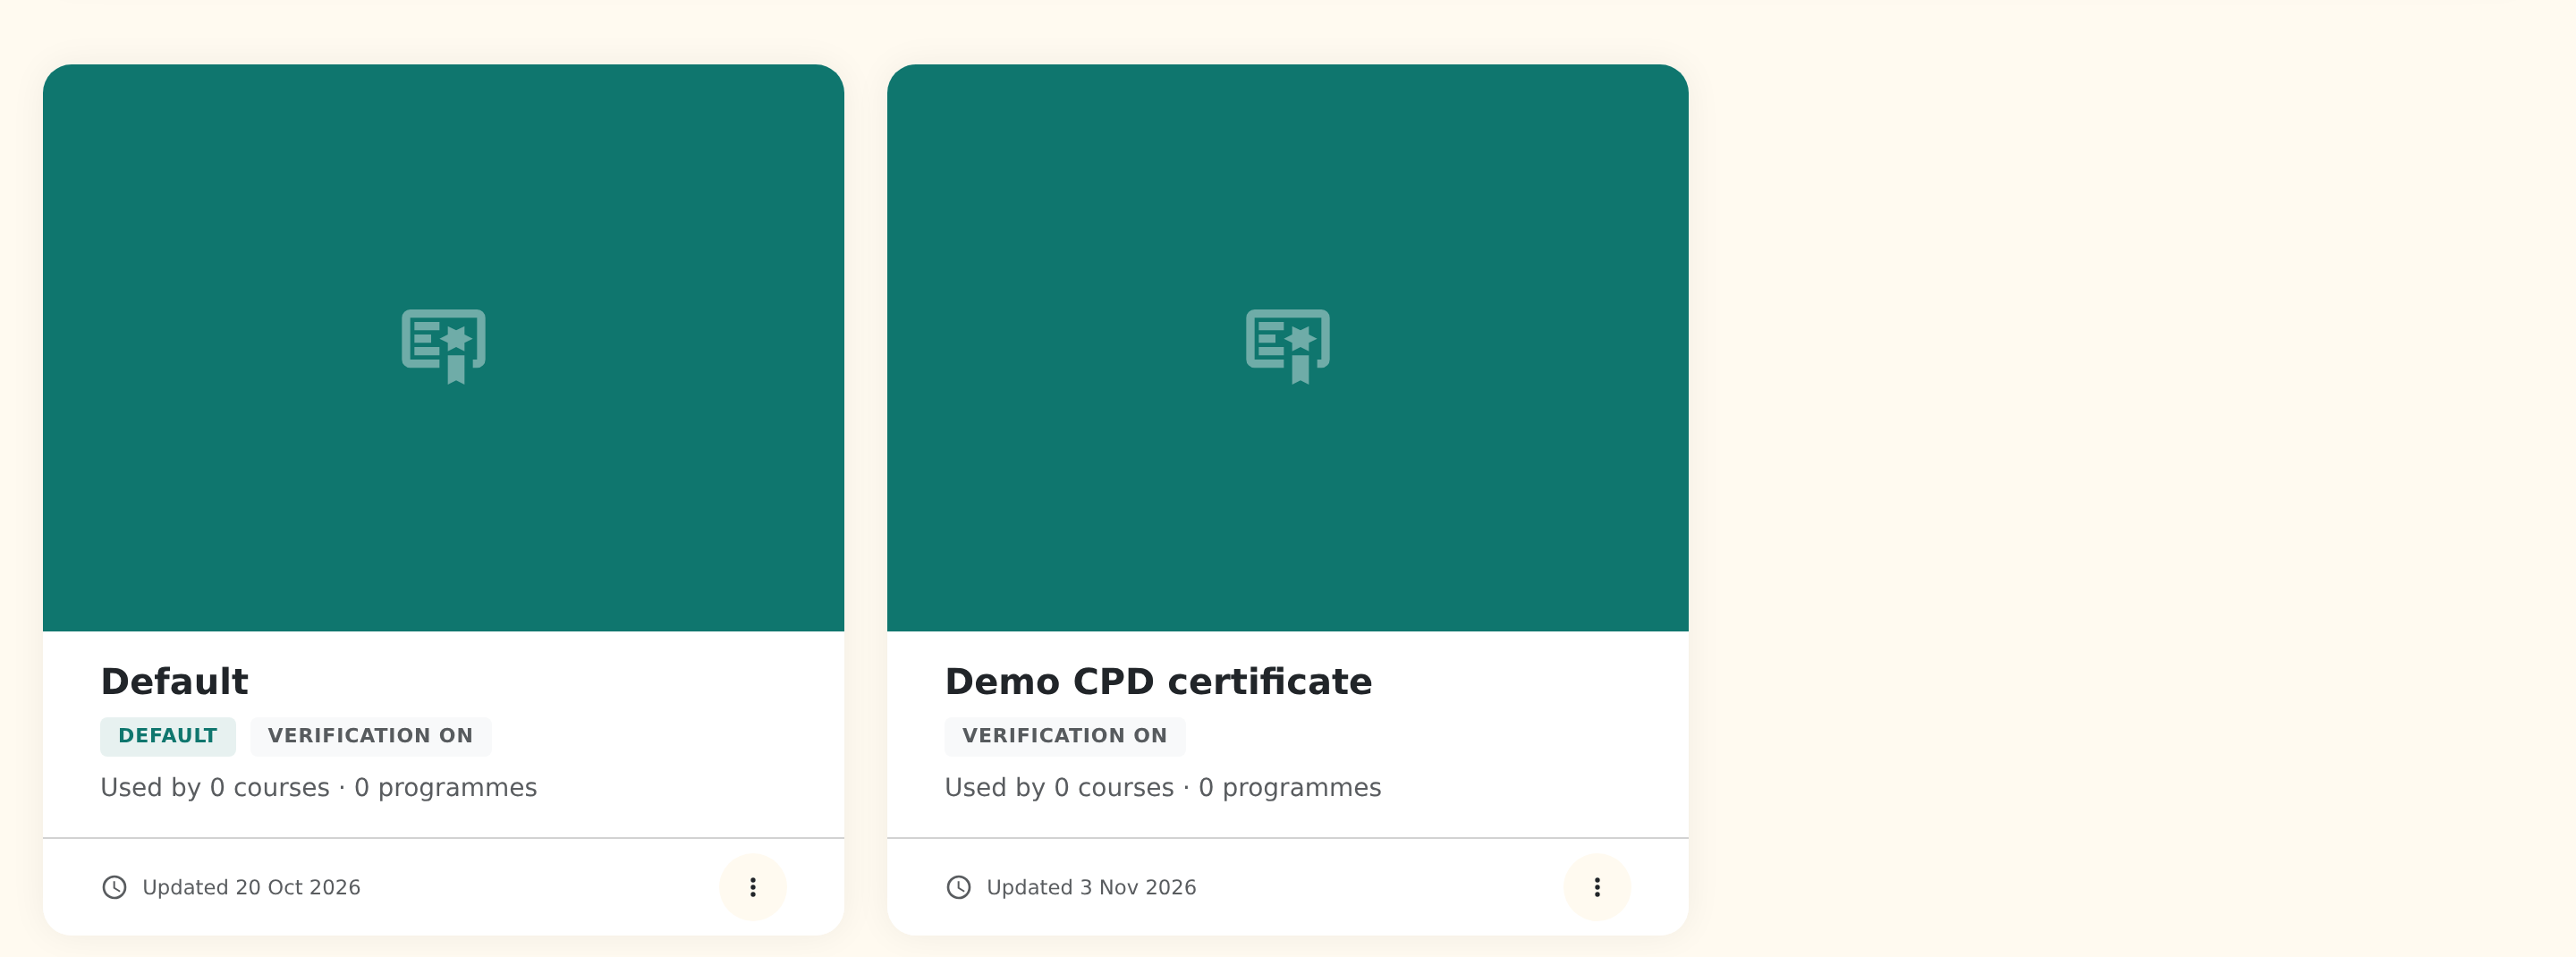
On the Certificates page, each card shows how many courses and programmes use the template. The menu on each card lets you edit, duplicate, make a template the default or delete it.
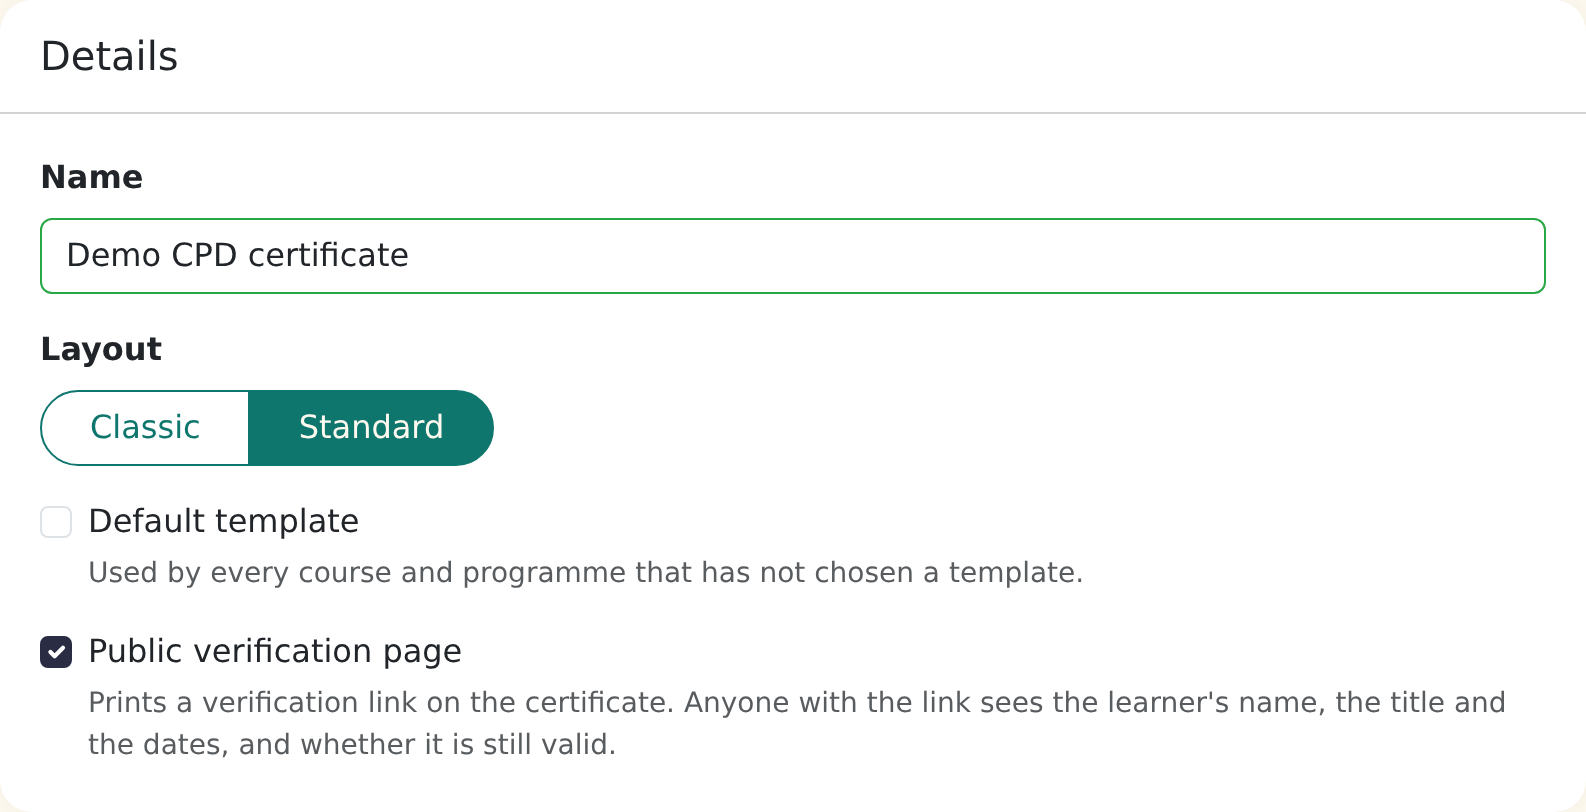
Details
-
Name: for your own use. Learners never see it.
-
Layout: choose Classic or Standard.
Layout What it does Classic Logos at the top, your wording in the middle and signatories near the bottom. Position is fixed to suit a designed background. The certificate number is printed on its own, without a label. Standard Logos, wording and signatories flow one after another and are centred. The certificate number is printed as "Certificate no. …". -
Default template: tick it to use this template for every course and programme that hasn't chosen one. You can't untick it on the current default. To change the default, tick it on another template.
-
Public verification page: see Let people verify a certificate.
Artwork
- Background: upload an A4 landscape image. Click Remove to go back to a plain white page.
- Text colour: pick a colour that reads clearly against your background.
- Logos: up to three. A new empty slot appears each time you add one.
Wording and merge fields
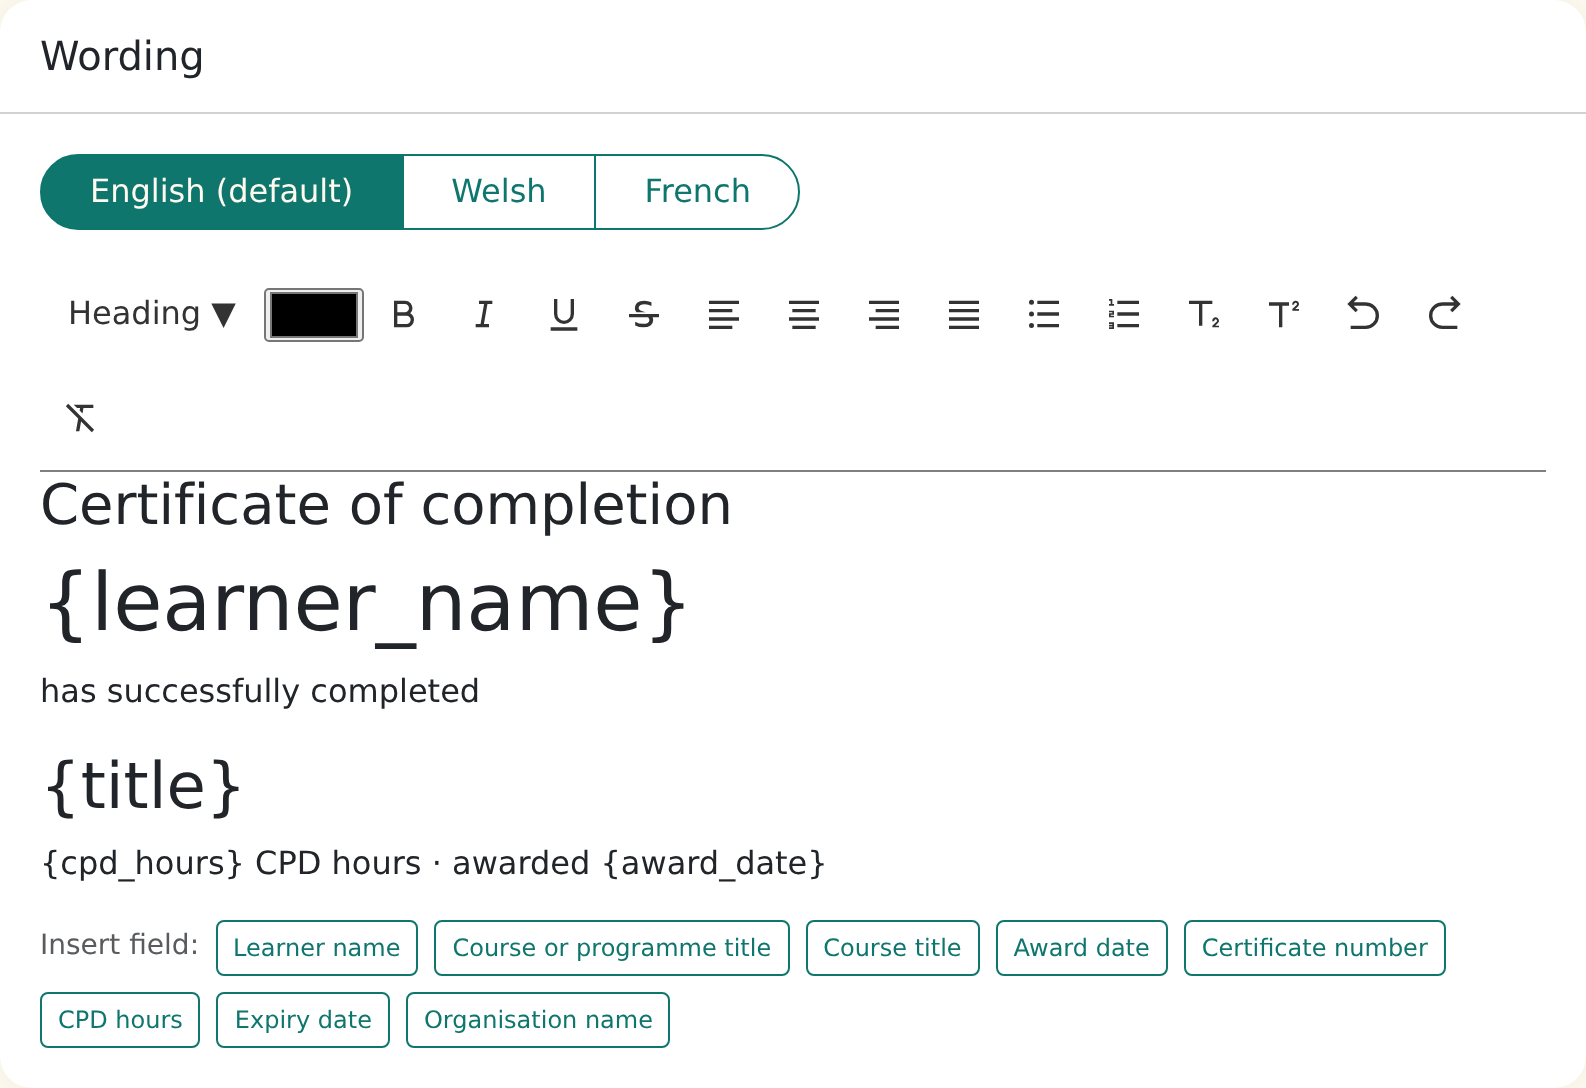
The Wording card is a text editor. Type your wording, then click the Insert field buttons to add details that change for each learner. Each one is replaced when the certificate is issued.
| Button | Prints |
|---|---|
| Learner name | The learner's name |
| Course or programme title | The course or programme name (Course title is the same thing) |
| Award date | The date the learner completed the course |
| Certificate number | The unique number |
| CPD hours | The hours you set on the course |
| Expiry date | When the certificate runs out (blank if it never does) |
| Organisation name | Your team name |
Only simple formatting is kept: headings, bold, italic, underline and line breaks. Other styling is removed.
Translations
If your team has more than one language switched on, a button for each language appears above the editor. Learners get the certificate in their own language.
- Write the wording in your default language first.
- Click another language, then click Translate with AI.
- Read the suggestion and edit it, then click Save Changes.
Translating also covers the signatory titles. Signatory names are the same in every language. A language you haven't written gets the default-language wording.
Signatories
Add up to two. For each, enter a Name and Title, and upload a Signature image if you want a handwritten signature to appear.
Preview
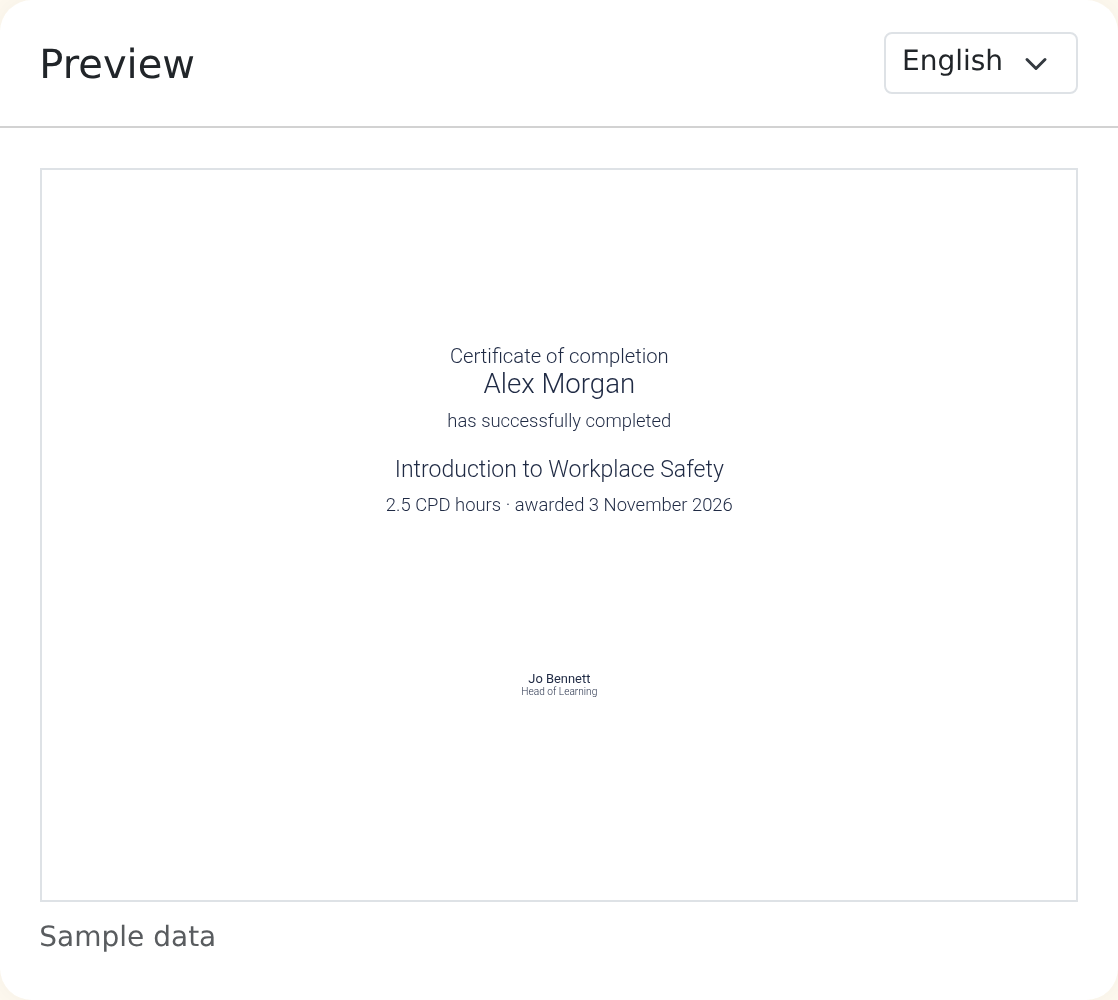
The Preview card shows your design with sample data (a learner called Alex Morgan, 2.5 CPD hours). It updates a moment after each change, and a language picker lets you check each translation.
Turn certificates on for a course
- Open the course in Create > Courses, click Settings in the editor toolbar and go to the Access tab.
- Next to Certificates, choose Yes.
- Choose a Certificate template, or leave Default template.
- Fill in the optional boxes below. Each saves as you type.
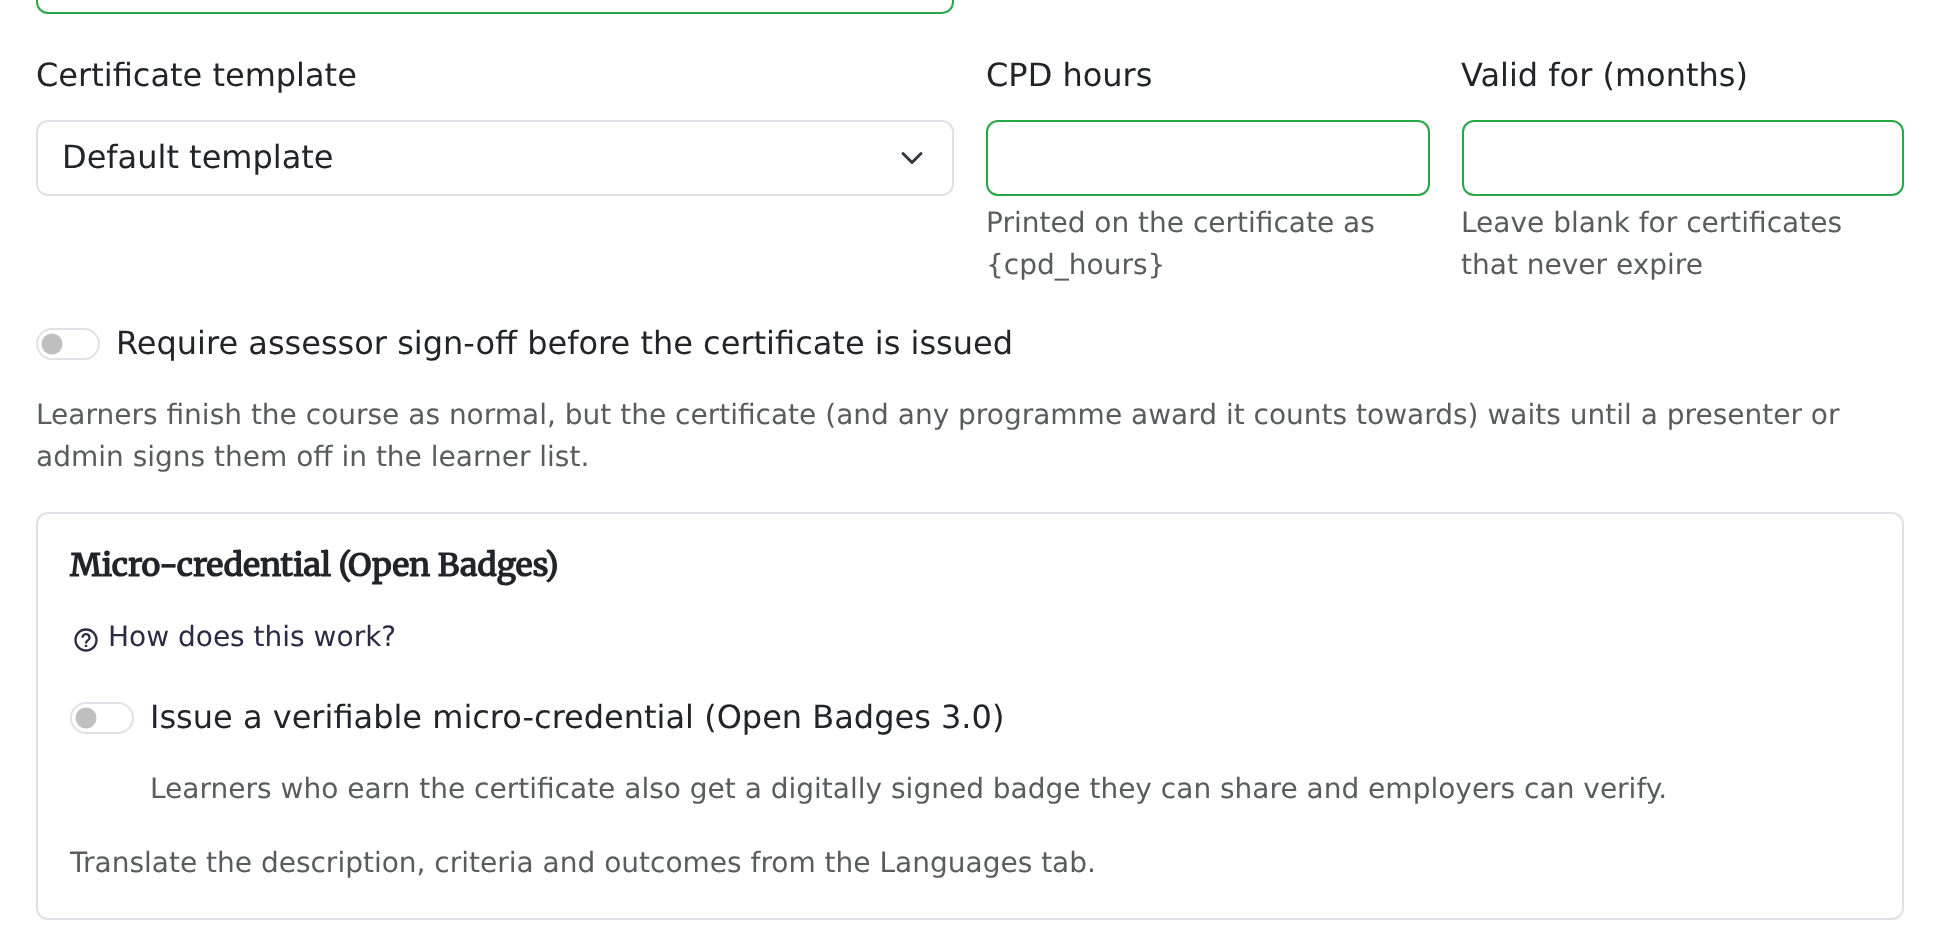
| Setting | What it does |
|---|---|
| Certificate template | Which design to use. Default template follows whatever your default is now. |
| CPD hours | Printed wherever your wording uses CPD hours. You can use quarter hours, such as 1.25. |
| Valid for (months) | For certificates that need renewing. Enter 1 to 120. Learners see an expiry date and get a reminder. Leave it blank if the certificate never expires. |
| Require assessor sign-off before the certificate is issued | Learners finish the course as normal, but the certificate waits until a presenter or admin signs them off in the learner list. A Sign-off column appears in the course results. |
The Certificates setting only appears if it's included in your plan.
When is a certificate issued?
Continuum issues the certificate when the learner has completed the course. If the course has an in-person session, the learner must also be marked as attended. If you've required sign-off, they must be signed off too. The award date is the day they completed the course, not the day they download it.
Certificate numbers
Every certificate gets a unique number, such as CL-12-01J…. It's printed on the certificate, shown on the verification page and listed in your reports.
Certificates are frozen once issued
Once a certificate has been issued, its wording, design, language and details are fixed. If you later edit the template, change the wording or fix a translation, certificates already issued stay as they were. Only certificates issued afterwards use the new version.
If you need to correct one learner's certificate, use Revoke or Re-issue in the course learner results. This replaces the certificate with a fresh version.
Let people verify a certificate
Tick Public verification page on a template and every certificate issued from it prints a verification link. Anyone who opens the link, such as an employer or regulator, sees:
- the learner's name, the title and the date awarded;
- the expiry date, CPD hours and certificate number;
- a status of Valid, Expired or Revoked.
They don't need to log in and they see nothing else about the learner. The setting is checked at the time of issue, so switching it on later doesn't add links to certificates already issued.
Expiry reminders
When a course has Valid for (months) set, learners see Expires followed by the date next to their certificate, and Expired once it has lapsed. Continuum emails each learner once, about 30 days before expiry, in their own language. Nothing is sent for certificates that never expire.
Where learners download certificates
Learners find a Download Certificate button on their dashboard and on their courses page, beside each completed course. Certificates for a programme are on the dashboard and the Results page. The button only appears once they've earned it.
Frequently asked questions
A learner finished the course but can't download a certificate. Why?
Check that Certificates is Yes on the course. Then check whether the course needs attendance at an in-person session or assessor sign-off. The certificate waits until that happens.
I changed the template but old certificates look the same. Is that a bug?
No. Issued certificates are frozen so they never change after someone has them. Revoke and re-issue a learner's certificate if they need the new look.
Can different courses use different designs?
Yes. Choose a Certificate template on each course's Access tab.
Can I delete a template?
You can delete any template that isn't the default. Make another template the default first. Courses and programmes that used the deleted template switch to your default. Certificates already issued are not affected.
How do I print CPD hours?
Add the CPD hours field to the wording on the template, then enter the hours on each course's Access tab.
Do I need to set up reminders?
No. They're sent automatically for any certificate with an expiry date.