
A live lesson is a live stream that sits inside a lesson. Learners watch it, and can chat, without leaving the course. When the session ends, the recording becomes the replay in the same place.
Use a live lesson when the session is part of a course and you want attendance to count towards completion. Use a standalone live event when you want a public watch page, ticket sales or a programme of sessions. Use a Zoom session when you want a two-way meeting where learners speak and appear on camera.
Who can do this: team admins and authors can add the block and open the Broadcast Studio. Learners need to be enrolled in the course to watch.
Before you start
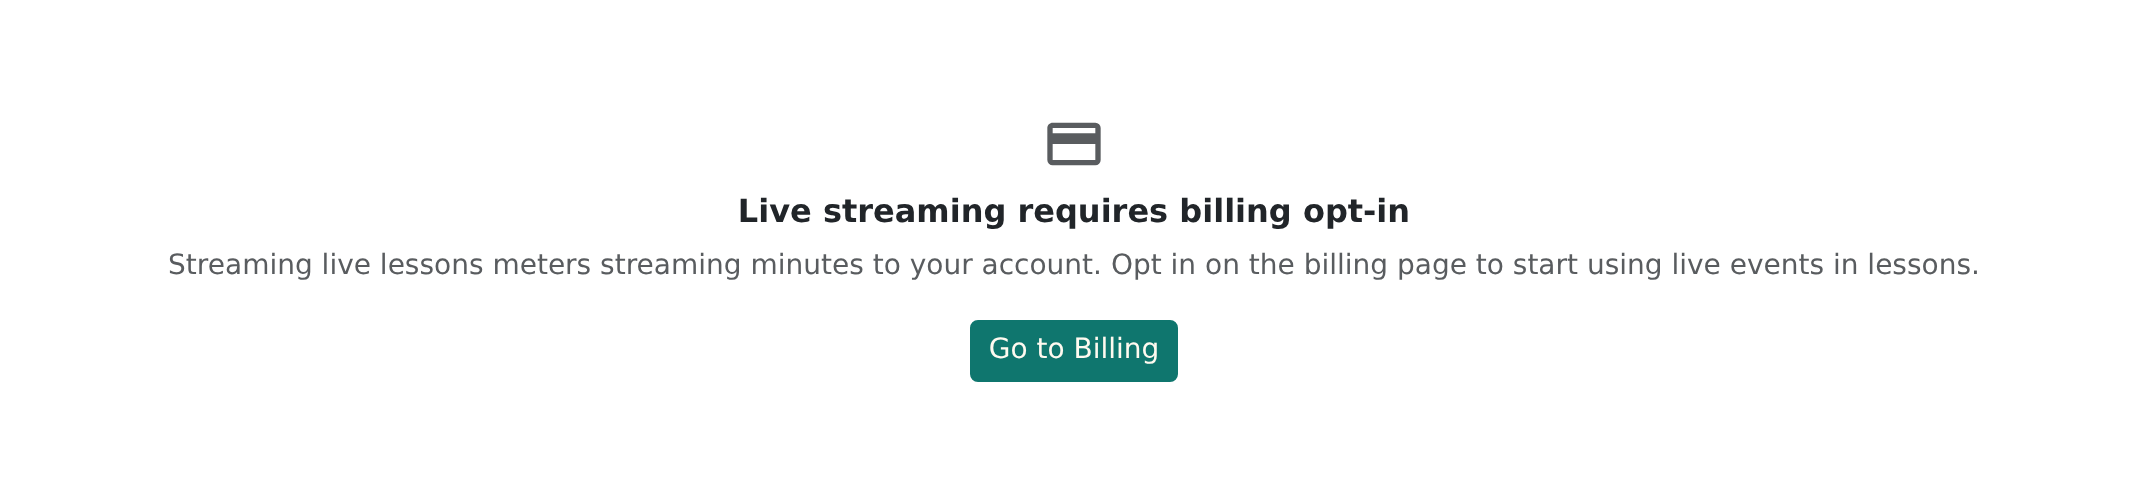
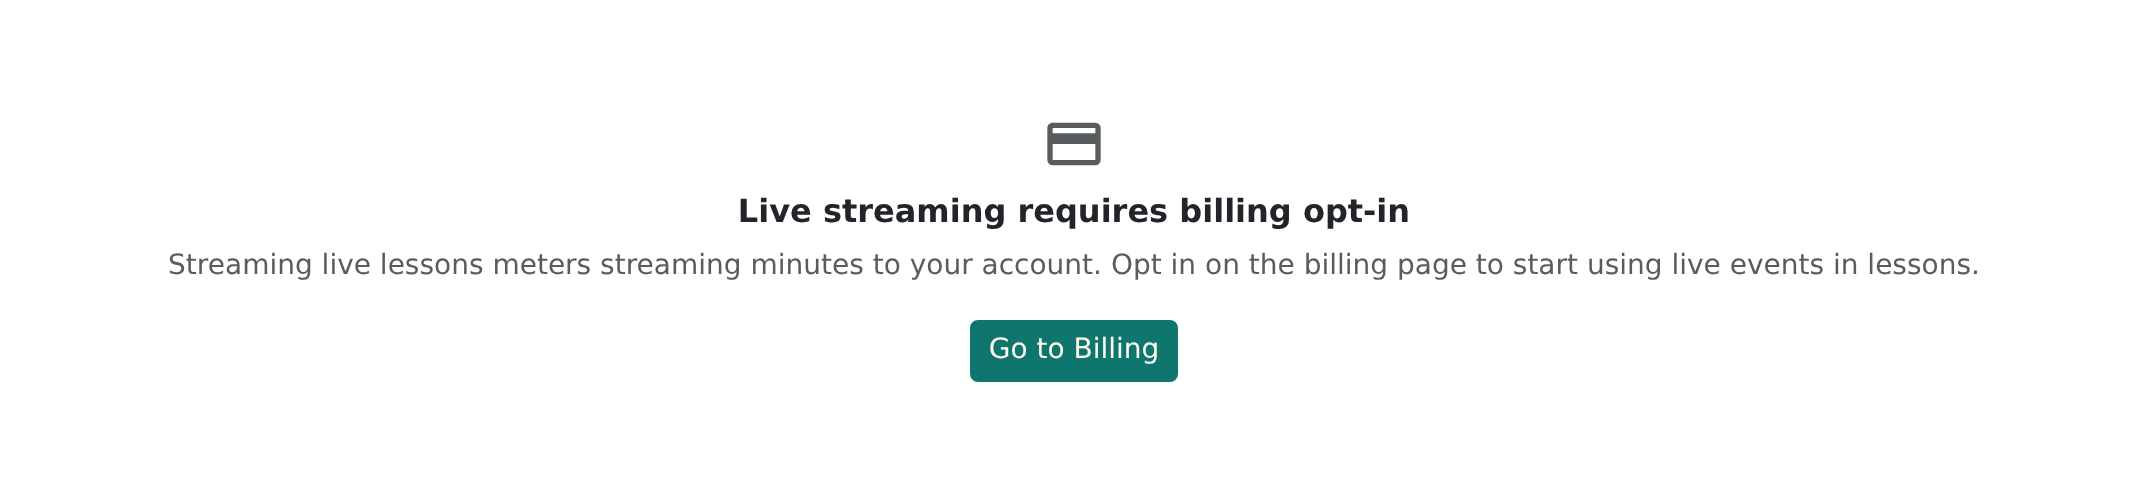
- Switch on streaming billing. Live streaming is metered, so your team must agree to it first. If it isn't on, the block's sidebar shows Live streaming requires billing opt-in and a Go to Billing button. That opens Billing, where the Live Streaming Billing card has the tick box and Enable Streaming Billing button. Only owners and billing users can see the Billing page, so you may need to ask one of them. Teams whose plan already includes streaming see "Live streaming usage is included in your plan" and don't need to do anything.
- Use a current desktop browser for the Broadcast Studio. It needs access to your camera and microphone. To share your screen you need a browser that supports screen sharing, such as recent Chrome, Edge or Firefox. If you're not sure, contact support.
- Plan the time. Choose a start and end time in the future. You can change them later.
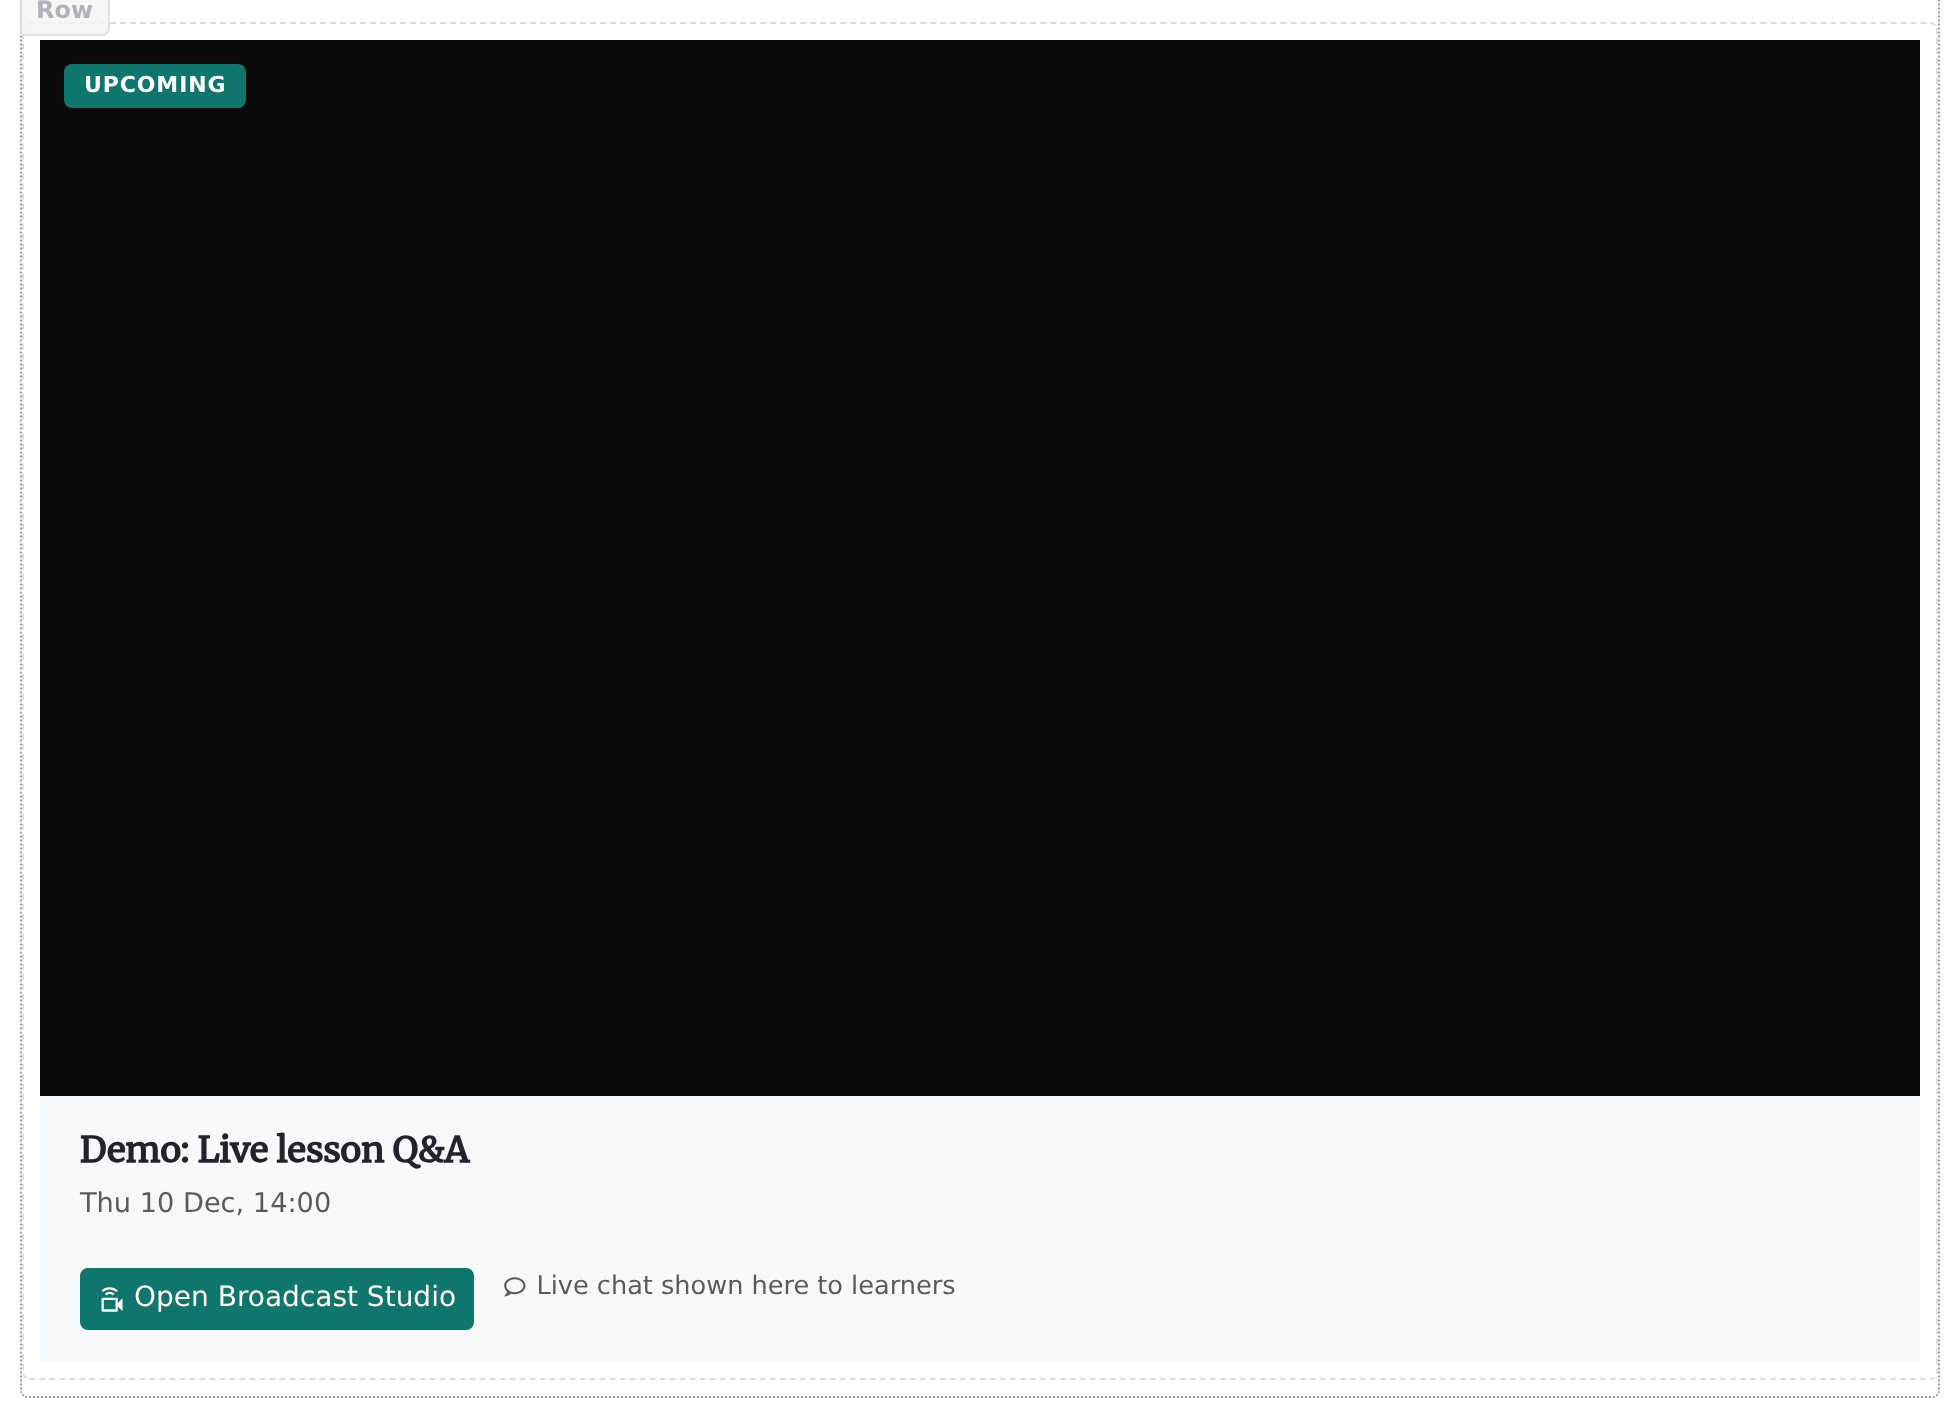
Add the Live Lesson block
- Open the lesson in the course builder and add a row.
- Choose the Live Lesson block, in the media components.
- In the sidebar, under Event, choose how to set up the event:
- Select Existing lists your live events. Click one to use it.
- Create New lets you fill in a Title, an optional Description, a Scheduled Start and a Scheduled End. The start must be in the future and the end after the start.
- Set the options below, then click Save. A new event is created when you save.
Events created here are kept for this lesson. They don't appear in the public watch library. Each new event starts with a single session, a 30-day replay window and chat available.
If you select an event that has several sessions, the sidebar says "This event has multiple sessions — schedule is managed in Events", and you edit the times under Create > Events instead. Events that don't use a supported stream provider can't be embedded in a lesson, and the block tells you to choose a different event.
The options
| Option | What it does |
|---|---|
| Require attendance to complete | On by default. The learner must watch enough of the session for the block to count as complete. |
| Completion threshold (%) | Shown when attendance is required. The share of the session a learner must watch. The default is 80. |
| Show countdown before start | Shows a countdown before the session starts. If you turn it off, learners see just the title and the start time. |
| Automatically switch to replay | After the session, plays the recording in the lesson. If you turn it off, learners see "The live session has ended." |
| Show live chat | Shows chat or Q&A beside the player. Chat or Q&A must also be switched on for the event, under the Engagement tab of the event. |
You can also flip attendance between Attendance Required and Attendance Optional from the toolbar that appears when you hover over the block.
Go live from your browser
The Broadcast Studio lets you stream with just a webcam and microphone.
-
Click Open Broadcast Studio. It's on the block in the builder and in the sidebar once an event is selected. The studio opens in a new tab.
-
Allow camera and microphone access when your browser asks. If you see Camera and microphone access was denied, allow them for this site in your browser settings and click Retry.
-
Check the preview, the Audio Level bar and the Camera and Microphone drop-downs.
-
Choose a Layout:
Layout What viewers see Camera Only Your camera. Screen Only Your screen, window or browser tab. Camera & Screen Your screen, with your camera as a small picture in one corner. Pick the corner under Camera Position. -
For the two screen layouts, your browser asks what to share: your entire screen, a window or a tab. Pick one. Click Stop Screen Share to stop sharing.
-
Use Mute and Unmute to control your microphone.
-
When you're ready, click Go Live and confirm. A red LIVE badge appears on the preview. Learners see the stream within about ten seconds.
-
When you've finished, click End Broadcast and confirm.
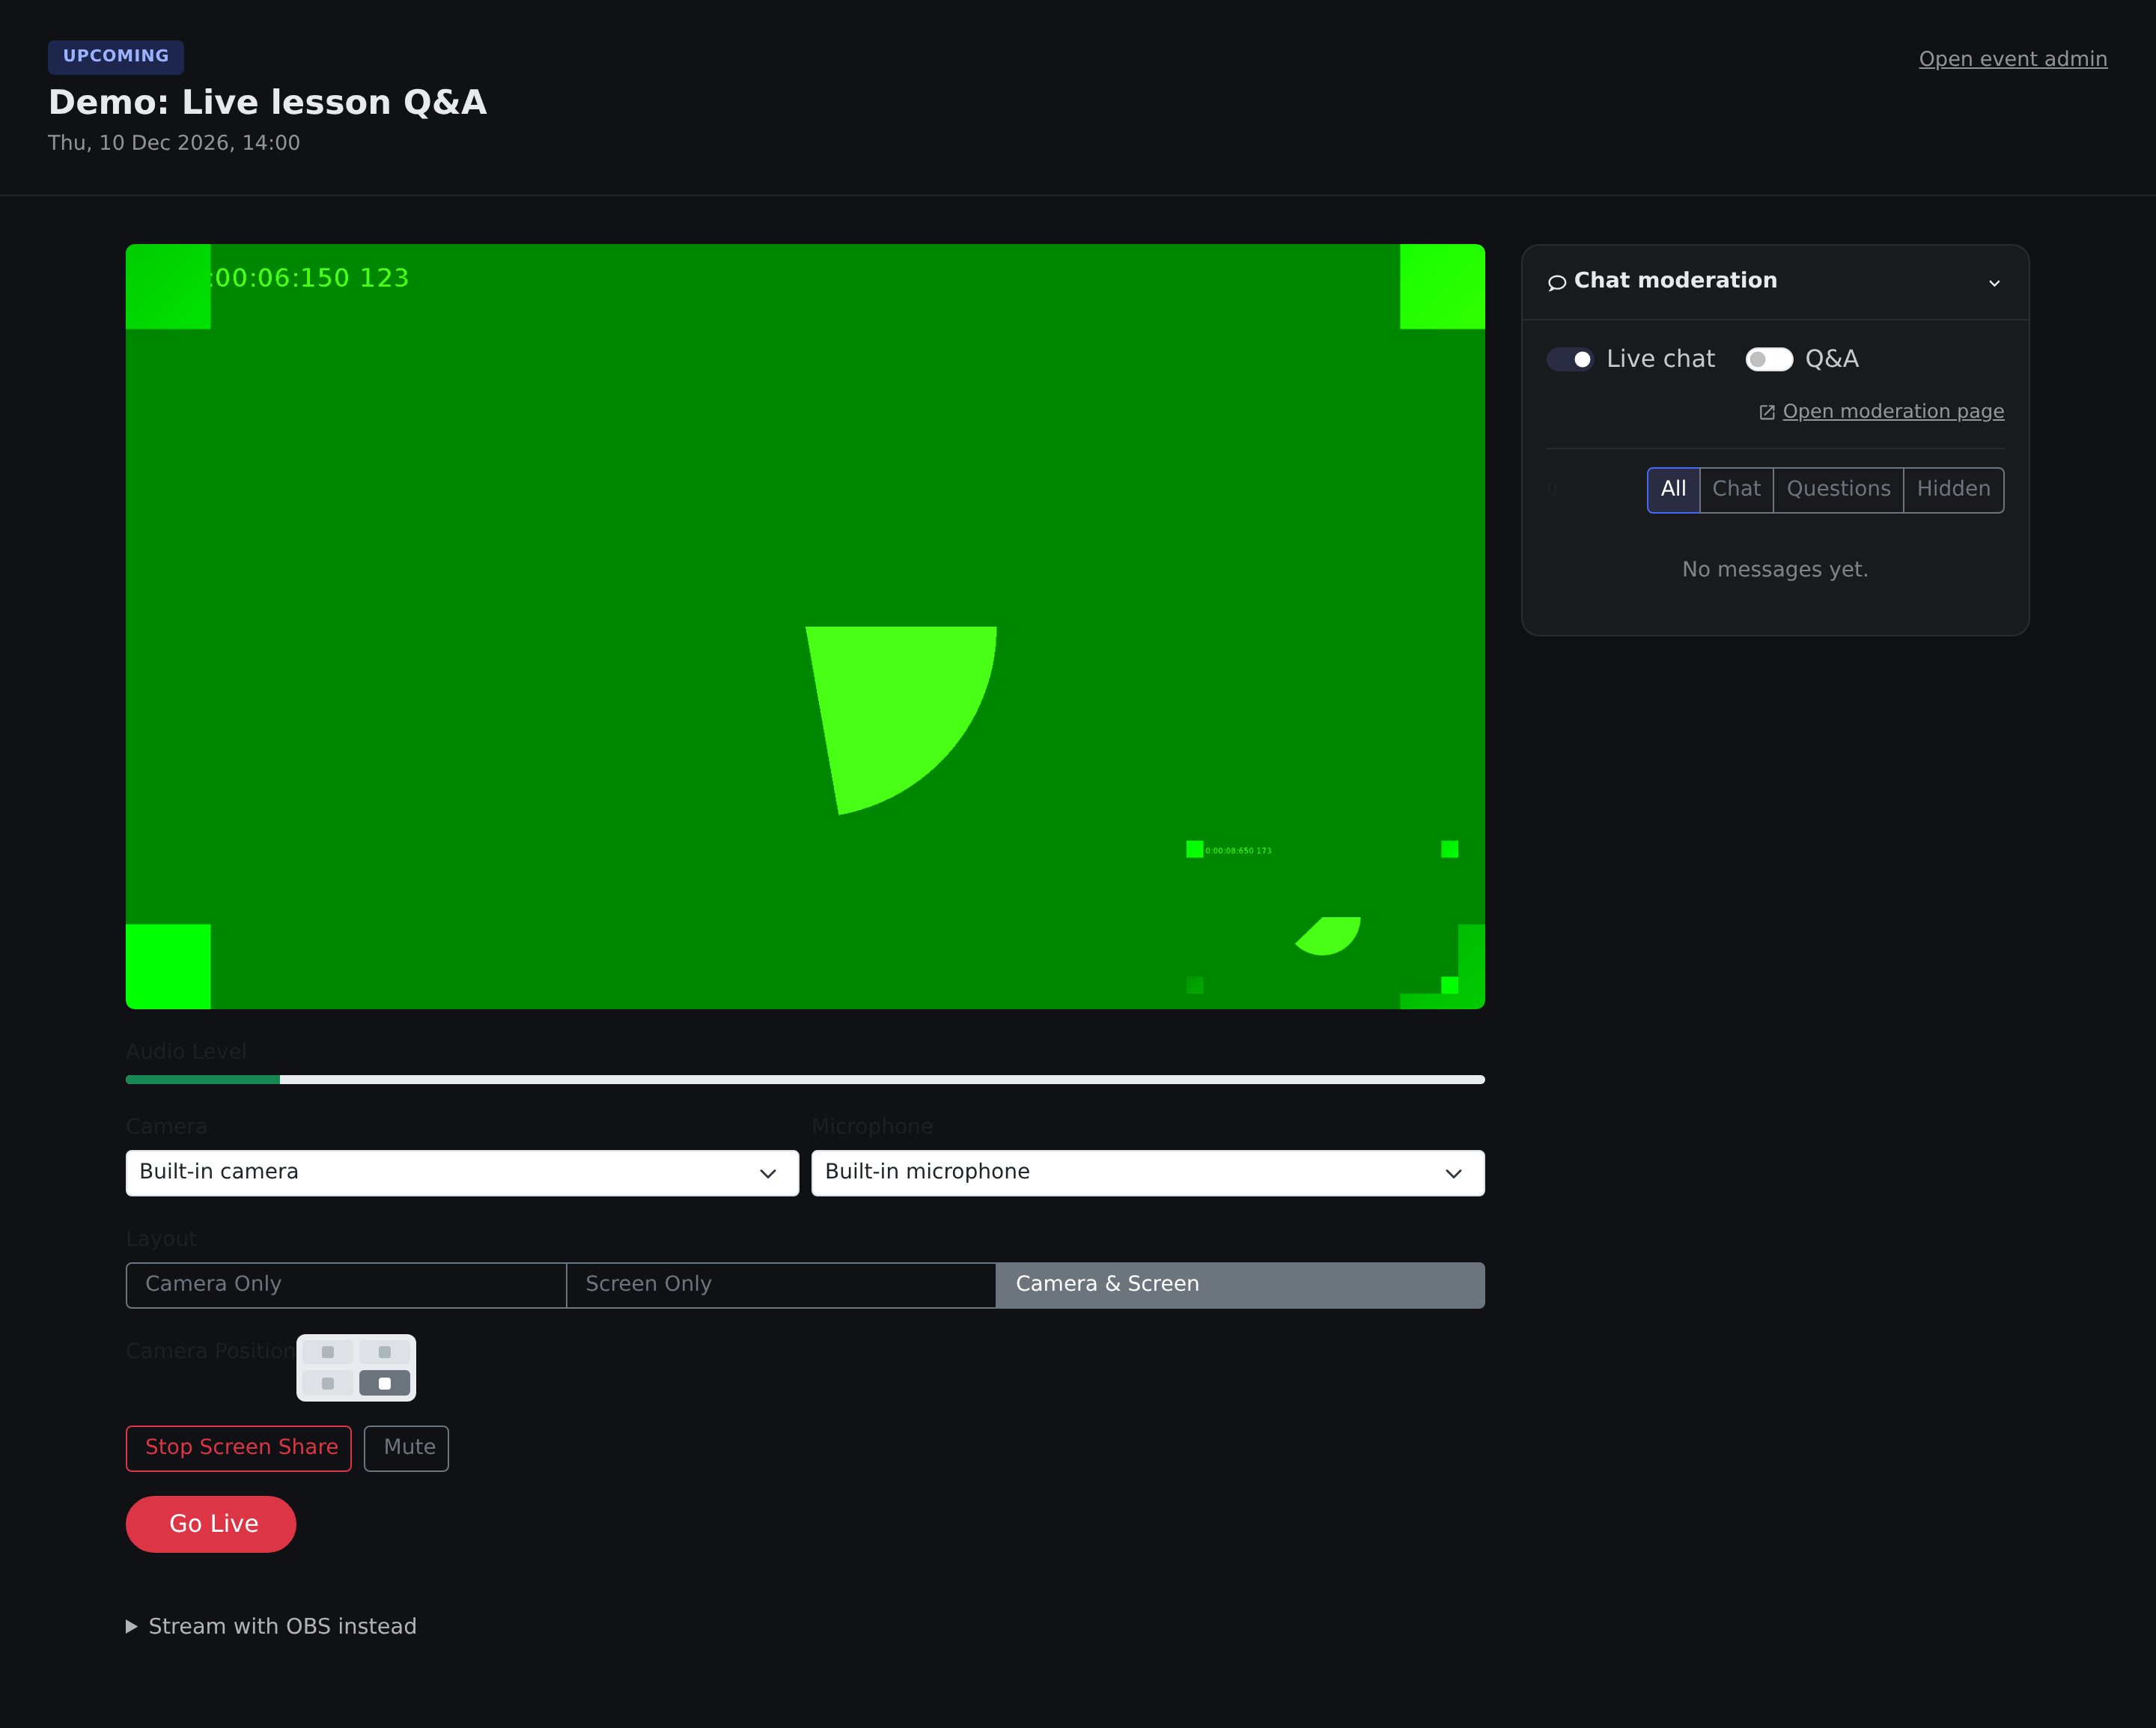
The studio also has a Chat moderation panel for reading and managing chat while you present. See live events for how moderation works.
Keep the studio tab open for the whole session. If you close it, or move to another page in the same tab, the camera is released and your stream stops.
Go live from OBS or other encoder software
Use this route if you want scenes, overlays or a hardware encoder.
- In the studio, open Stream with OBS instead.
- Copy the Server URL and the Stream Key with the copy buttons.
- In OBS, go to Settings > Stream. Set Service to Custom, paste the server URL into Server and the key into Stream Key, then click Apply.
- Click Start Streaming in OBS.
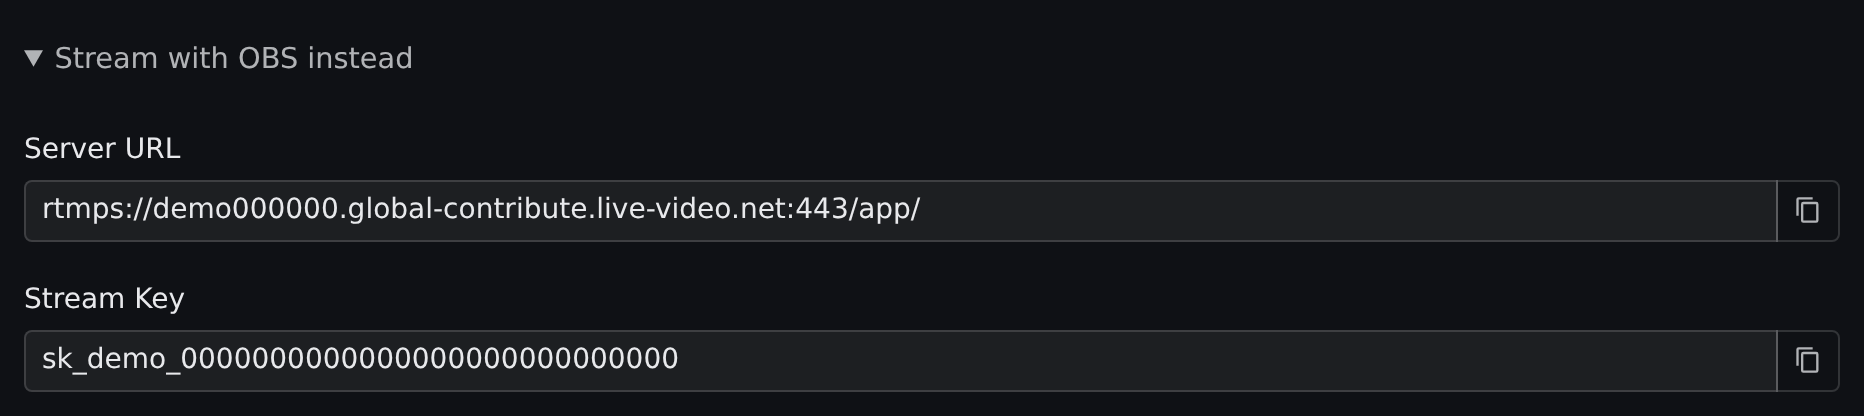
Treat the stream key like a password. Anyone who has it can stream to your lesson. The studio doesn't have a button to reset the key. If it leaks, contact support.
What learners see
| When | What they see |
|---|---|
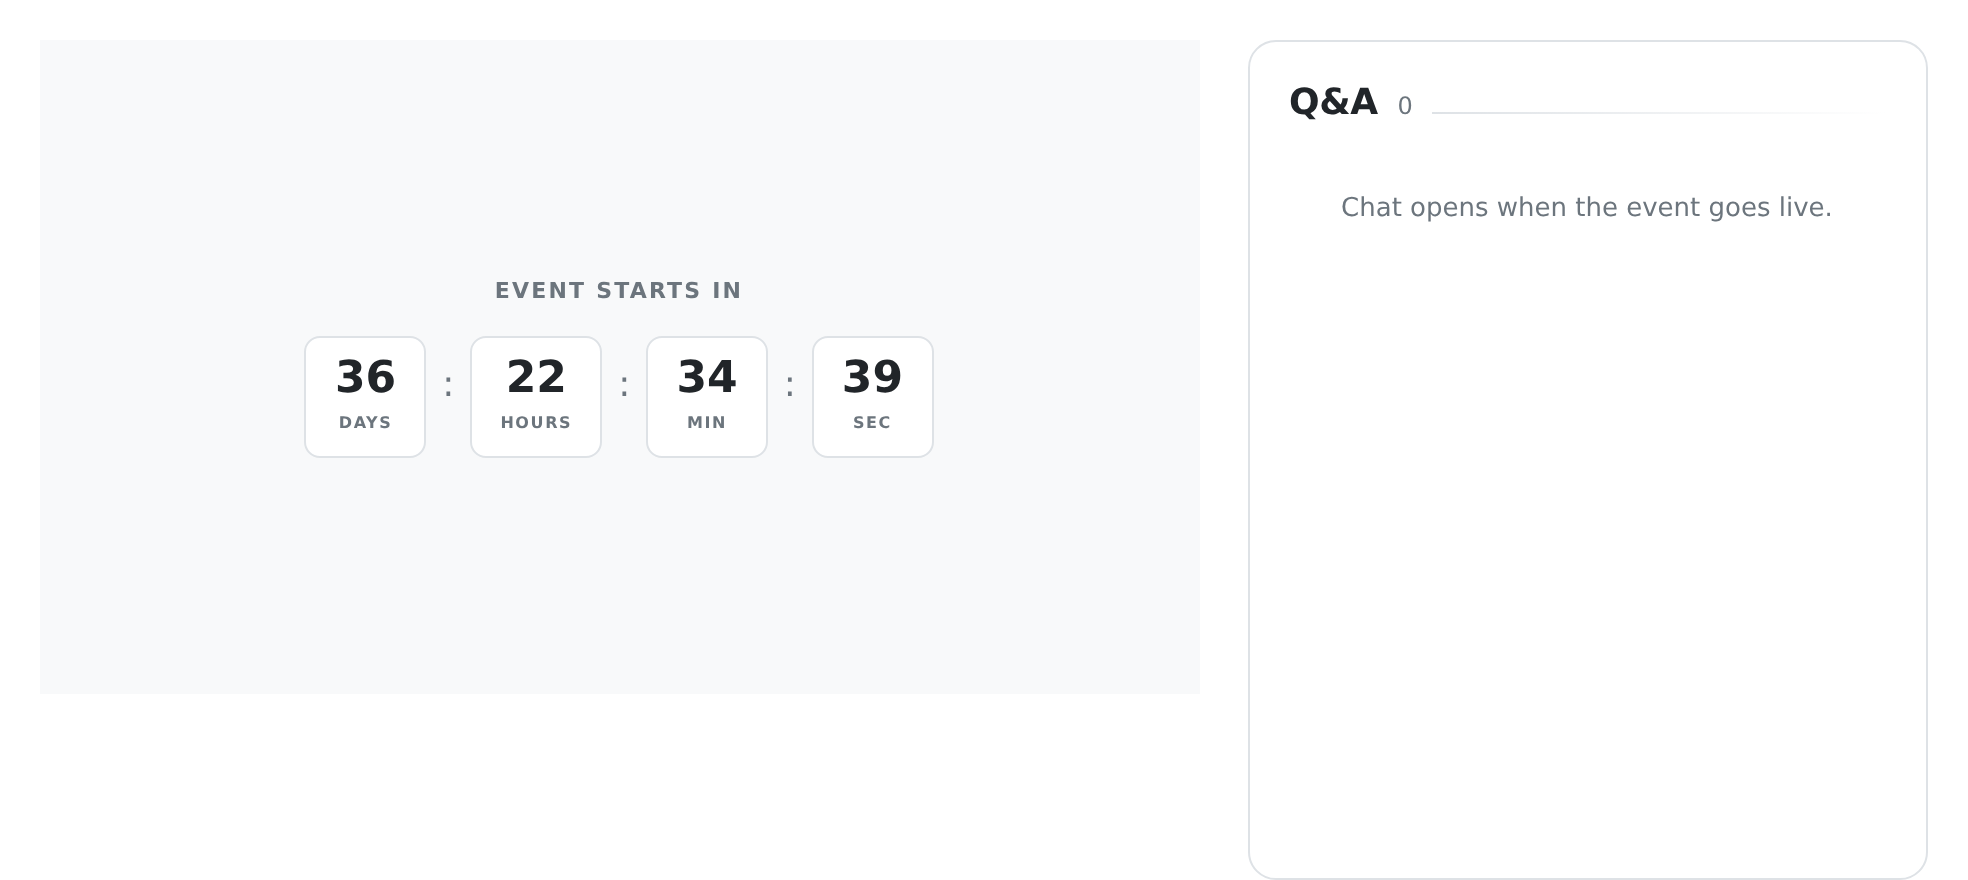
| Before the start | A countdown headed Event starts in (or the title and start time if you turned the countdown off). |
| During the session | The live player, and chat beside it if you turned it on. Chat shows "Chat opens when the event goes live" until the stream starts. |
| After the session | The recording plays in the lesson if Automatically switch to replay is on. Until it's ready they see Replay processing. If you turned it off, they see "The live session has ended." and a View event page button. |
| No access | "You don't currently have access to this live session." with a View event page button. Learners get access by being enrolled in the course. |
| Event removed or missing | "This session is unavailable." |
Attendance and completion
If Require attendance to complete is on, Continuum counts the seconds each learner watches, live or in the replay. When the time watched reaches your threshold, the block completes. For example, with a one-hour session and a threshold of 80%, a learner needs about 48 minutes. The target is the length of the recording, or the scheduled start-to-end time if they are watching live.
If the session has no scheduled length, the block completes once the stream ends and the learner has watched at least a minute.
If attendance isn't required, the block completes when the learner scrolls it into view. The block also completes this way if the learner can't watch it at all, for example if they have no access, so the lesson can still finish.
To see who took part, open Manage > Reporting > Course Reporting and then Results for the course. See reporting. The event's own Analytics tab, under Create > Events, shows viewers and watch time.
Frequently asked questions
Learners can't see the stream. What do I check?
- Is the learner enrolled in the course? Access comes from enrolment.
- Have you clicked Go Live (or started OBS)? Until then they see the countdown.
- Is Show countdown before start off and the session not yet started? They see the title and time instead of a player.
- The lesson checks for the start every ten seconds or so, so allow a moment.
- If it still doesn't work, contact support.
Screen share is greyed out or doesn't work.
Use a current desktop version of Chrome, Edge or Firefox. If you're on a phone or tablet, switch to a desktop browser. On a Mac, allow your browser to record the screen under System Settings > Privacy & Security > Screen Recording, then restart the browser. If you close the browser's sharing picker without choosing anything, nothing is shared and the layout doesn't change.
Can I rehearse privately?
The studio preview is private until you click Go Live, so you can check your camera, microphone and layouts first. A full test stream is not private: once you go live, enrolled learners can see it. To try the whole path, use a test lesson in a course nobody is enrolled on.
Can two presenters stream?
A live lesson has one stream, so one person streams at a time. To hand over, one presenter ends and the other opens the studio, or you can share one browser or encoder. Others can join in on chat moderation. For a panel with several people on camera, use a Zoom session.
How long until the replay appears?
Events made from a lesson are recorded automatically, so there is nothing to upload. The replay appears once processing has finished, which can take a little while after you end the stream. Until then learners see Replay processing. If it doesn't appear, check that Automatically switch to replay is on, and contact support.
What if my connection drops?
Learners will see the stream stop. Reconnect as soon as you can: in the studio, reload the tab and click Go Live again, or restart OBS. If viewers stay stuck on a stopped stream, contact support.
Can I change the time after learners have seen the lesson?
Yes. Reopen the block, change Scheduled Start or Scheduled End and click Save.