
Still deciding? See what Discussion & Presenters in Continuum Learn can do for your organisation.
A presenter profile shows learners who is teaching a course: a photo, a job title and a short bio. If you give a presenter a login, they also get their own area to follow their learners and answer questions. The course discussion board is a place where enrolled learners ask questions, and you and your presenters answer them.
You can use profiles without the discussion board, and the board without any presenters.
Who can do this: team admins create presenter profiles under Manage. Admins and authors link presenters to a course and switch the discussion board on in the course settings. Moderating the board is open to admins, authors and the presenters linked to that course.
Add a presenter profile
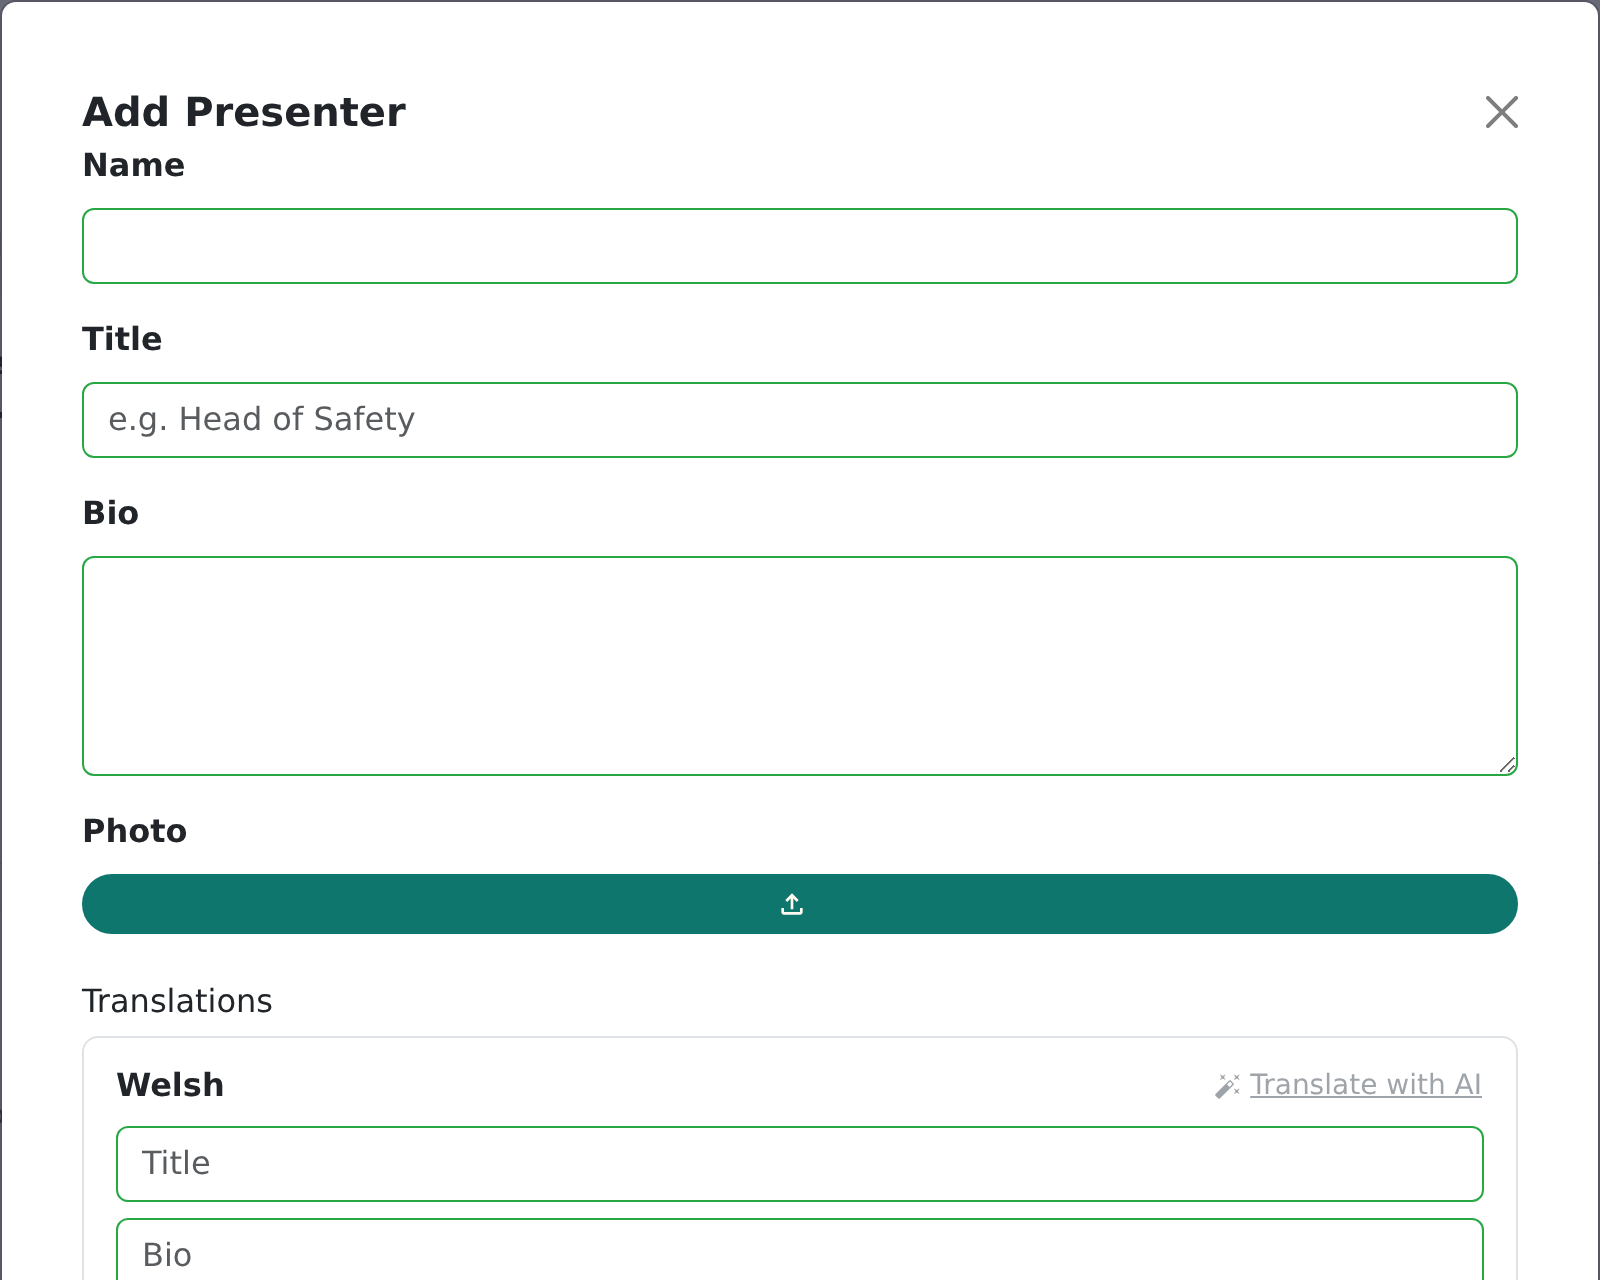
- Go to Manage > People > Presenters and click Add Presenter.
- Enter the presenter's Name. Add a Title (for example "Head of Safety") and a Bio if you want learners to see them.
- Under Photo, upload an image. Without one, learners see the presenter's initials.
- If your team offers more than one language, a Translations section appears. Type the title and bio for each language, or click Translate with AI to get a first draft you can edit. Learners see the version for their own language and the main one when no translation exists.
- Click Save Changes.

A profile is not a login
A profile is just a public description. It doesn't need an account, so you can list a guest speaker who will never sign in. These show No login on the presenter's card.
To give a presenter access to their own area, link the profile to an account:
- Invite by email: open the card's menu (the three dots), choose Invite by email, type their address and click Send. They get an invitation to join your team. When they accept, their account is linked automatically. If that email address already belongs to someone in your team, the profile is linked straight away and no email is sent.
- Link existing user: choose this from the same menu and search your team members by name or email.
- Unlink account: removes the link and the presenter's access. The profile itself stays on your courses.
- Delete: removes the profile and takes it off every course.
The presenter role is automatic
Someone is a presenter in your team for exactly as long as their account is linked to at least one presenter profile. You don't switch it on, and you can't add or remove it in the user editor. To give someone the role, link a profile to them. To take it away, unlink or delete the profile.
Presenters are also learners, so they keep their normal learner view.
What presenters can and can't see
| Presenters can | Presenters can't |
|---|---|
| Open the presenter area for courses they are linked to | See any other course in the presenter area |
| See each learner's name, progress and status | See learners' email addresses or custom fields |
| See quiz and survey results for their courses | Edit the course, or change settings |
| Confirm attendance and sign off learners, where the course uses them | Reach anything under Create or Manage unless they also have an admin or author role |
| Answer and moderate the discussion on their courses |
Admins and authors can use the presenter area too: authors from Present in the main menu, admins from Presenter area in the Manage menu. They can switch between their own courses and All courses, and answer questions from any course's discussion in one inbox. Admins also see learners' email addresses there. Admins have a Learner questions tile on the Manage page showing how many questions are waiting.
Send presenters the guide How to use the presenter area so they know where everything is.
Show presenters on a course
- Open the course in Create and click Settings in the editor toolbar.
- On the Details tab, find Presenters.
- Choose Add a presenter... and pick a profile. Repeat for each presenter. Changes save straight away.
- Use the arrows to change the order, or the cross to remove someone.
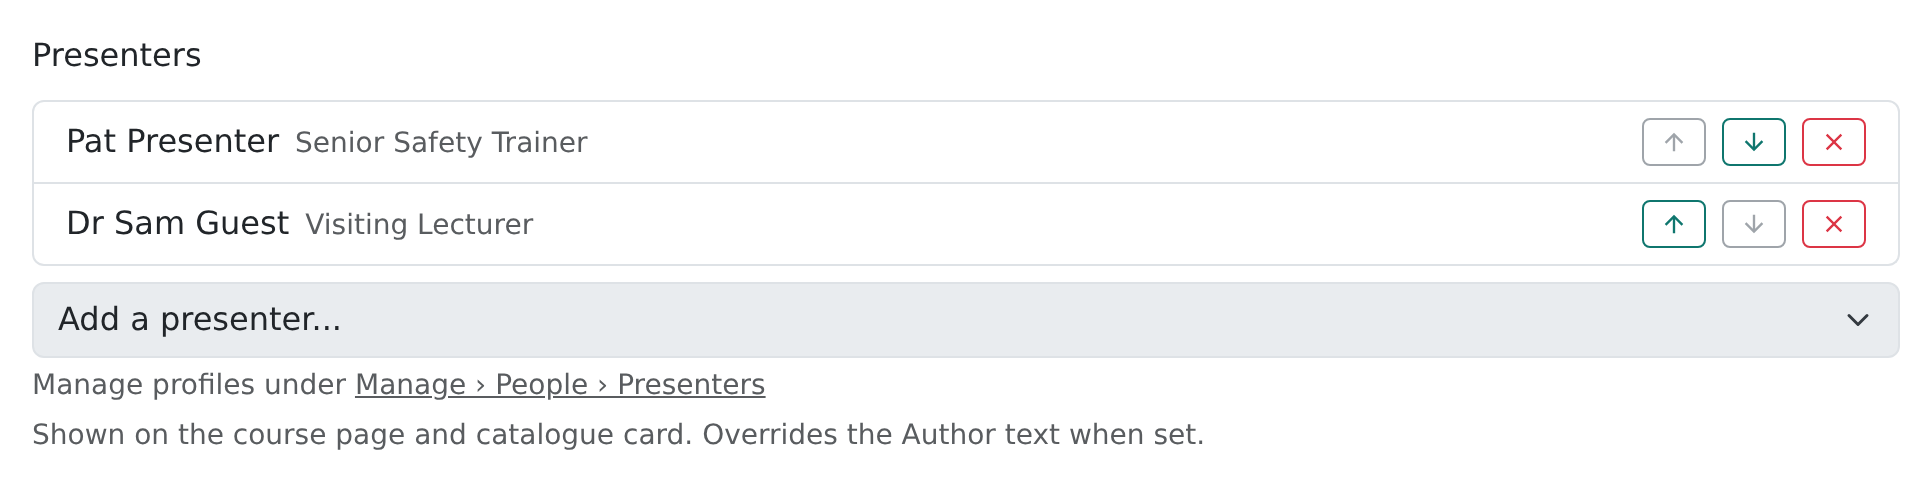
A course can have several presenters. When a course has presenters, their names replace the free-text Author line. Learners see them on the course card, the top of the course page and the course's promotional page, which also shows the photo, title and bio. A copy of a course within your team keeps its presenters. A course created from a template does not.
If you built a custom promotional page with the page builder, it doesn't show presenters yet.
Preview a course without affecting results
Presenters, admins and authors often want to look through a course. When one of them opens or previews a course they aren't enrolled in, Continuum treats them as an observer:
- they can read every lesson and try quizzes and surveys;
- their quiz and survey answers aren't saved, so they never appear in results;
- they are never marked as having completed the course, so no completion email, certificate or programme award is triggered.
The same applies to the preview in Create. If you want to try the whole journey as a learner and have it recorded, use a test learner account.
Turn on the discussion board
The discussion board is off by default and is switched on per course.
- Open the course, click Settings and stay on the Details tab. Discussion board is just below Presenters.
- Switch on Discussion board.

The board isn't available for publications. It doesn't appear in SCORM exports or embedded courses, so learners there can't see it.
What learners see
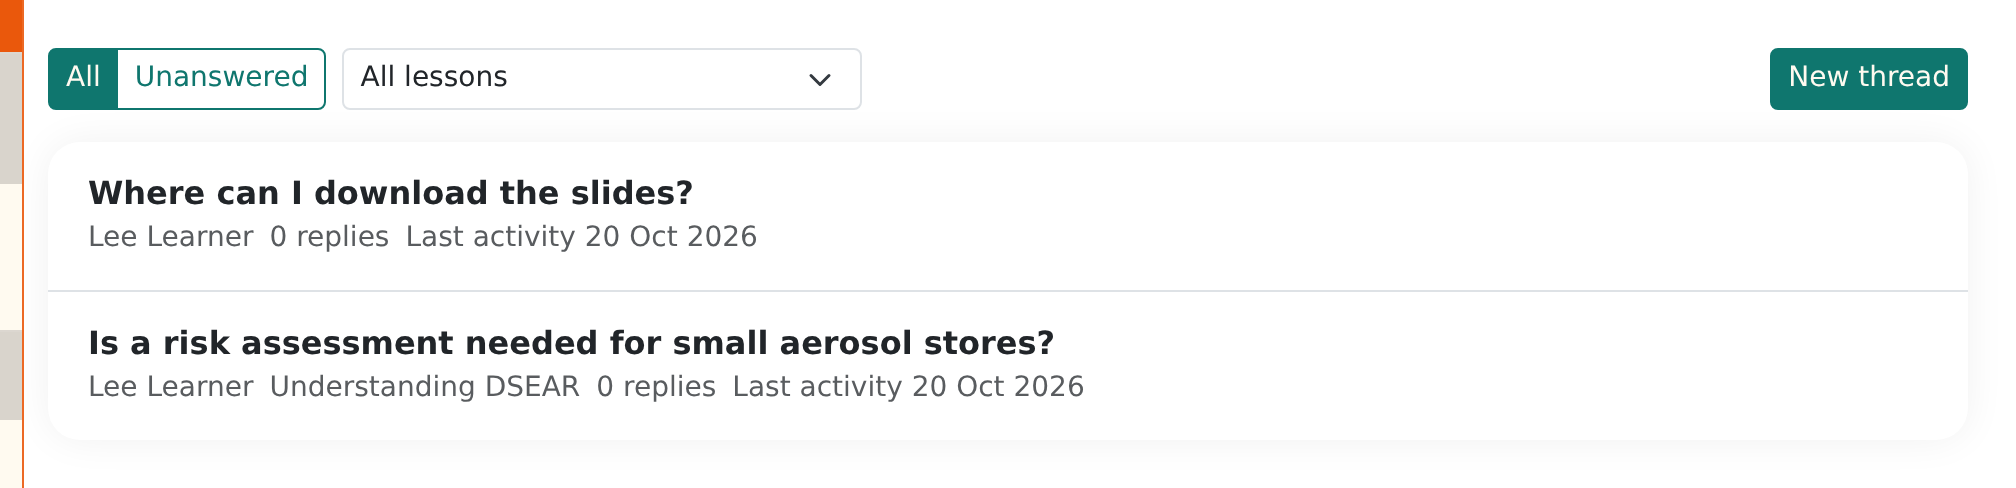
Enrolled learners see a Discussion tab on the course page, next to the overview. In it they can:
- click New thread, type a Title and Message, optionally choose a lesson, and click Post thread;
- open a thread and write a reply;
- filter the list by lesson.
Inside a lesson, the header shows Ask a question, which opens a new thread for that lesson, and a count of existing discussions. Messages are plain text. Web addresses become links, but there's no formatting or file upload.
Learners who aren't enrolled can't see the board. Posts from presenters, admins and authors carry a Presenter or Staff badge.
Moderate the discussion
Admins, authors and linked presenters see extra controls. Open a thread and use the three-dot menu at the top of the thread, or on a reply:
| Action | What it does |
|---|---|
| Pin / Unpin | Keeps the thread at the top of the list. |
| Lock / Unlock | Stops learners replying. Staff can still reply. |
| Hide / Unhide | Removes the thread or reply from learners' view. Staff still see it, greyed out and marked Hidden. |
| Mark as answer / Remove accepted answer | Marks one reply as the answer. The thread shows Answered in the list. |
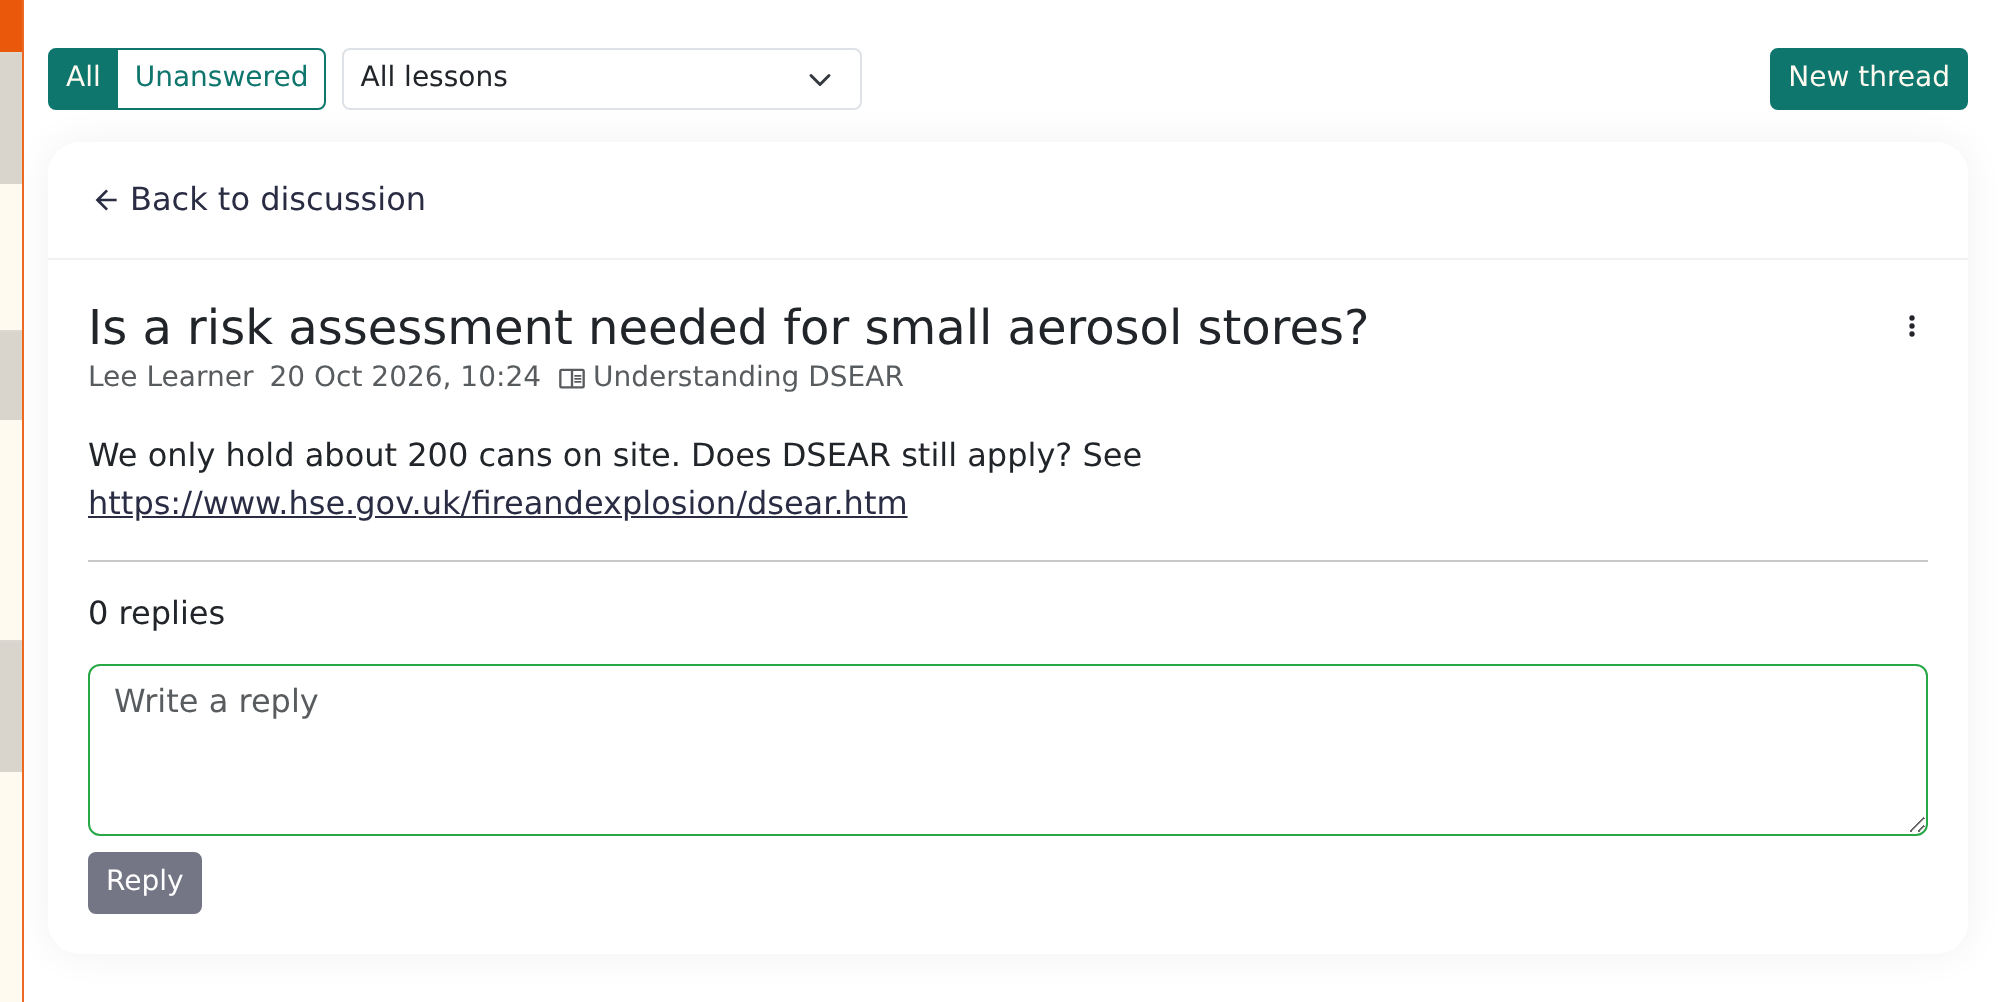
Moderators hide rather than delete. Learners can edit or delete their own threads and replies for 15 minutes after posting; after that only moderators can act on them. They can't edit a locked or hidden post.
Unanswered questions
A thread counts as Unanswered until a staff member replies, a reply is marked as the answer, or the thread is locked or hidden. An admin's reply counts as a staff reply.
On the course page, moderators see an Unanswered filter and a count on the Discussion tab. Presenters also have an inbox that lists unanswered questions across all their courses.
Email notifications
Notifications are by email only, and people can't opt out individually.
- When a learner starts a thread, the presenters linked to that course get an email. Admins and authors don't.
- When someone replies to a thread, the person who started it gets an email.
- Each person receives up to five discussion emails an hour straight away. After that, further notifications are held and sent together as one digest once the hour is over.
Hidden threads and replies don't trigger emails, and nobody is emailed about their own replies. Presenters are sent to the presenter inbox from their emails. Everyone else is sent to the course's discussion tab.
Frequently asked questions
Can I list a speaker who doesn't have an account?
Yes. Add a profile and leave it unlinked. It shows No login in your list, but learners still see the name, photo, title and bio on the course.
Why can't I find "Presenter" in the user editor?
The role is automatic and not offered there. It exists while a user is linked to a presenter profile. Open Manage > People > Presenters and use Link existing user, Invite by email or Unlink account instead.
A presenter says they can't see a course. Why?
The presenter area only lists courses the presenter is linked to. Check the course's Presenters setting under Settings on the Details tab. Also check that the profile still shows Linked on the Presenters page.
Can learners see the discussion without being enrolled?
No. The board is only for enrolled learners and course staff.
Can I delete a learner's post?
Moderators can hide a thread or reply, which removes it from learners' view but keeps it for staff. Hiding is reversible with Unhide. Only the author can delete their own post, and only in the first 15 minutes.
Will turning the board off delete the conversations?
Switching Discussion board off hides the tab from everyone. Existing threads aren't removed, and they return if you switch it back on.