
In short
In Continuum Learn, each quiz question can carry an explanation, and the quiz's Show answers and explanations setting decides whether learners can review their answers afterwards: never, only once they pass, or after every attempt. The review is off by default.
After a quiz, learners often want to know which questions they got wrong and why. Continuum lets you write a short explanation for each question and choose whether learners can open a review of their attempt. The review lists every question, what they answered, which answers were correct, and your explanation.
The review is off by default, so nothing changes for existing quizzes until you turn it on.
Who can do this: team admins and authors, in the course editor. The quiz itself is covered in Quizzes and knowledge checks.
Write an explanation for a question
- Open the lesson in the course editor, hover over the quiz and click the pencil (Edit).
- On the Questions tab, pick a question on the left.
- Under the answers, type in Explanation (optional). Say why the right answer is right, and if it helps, why a tempting wrong answer is wrong. It's a rich-text box, so you can use formatting such as bold, lists and links.
- Click Save in the window, then Save on the lesson toolbar.
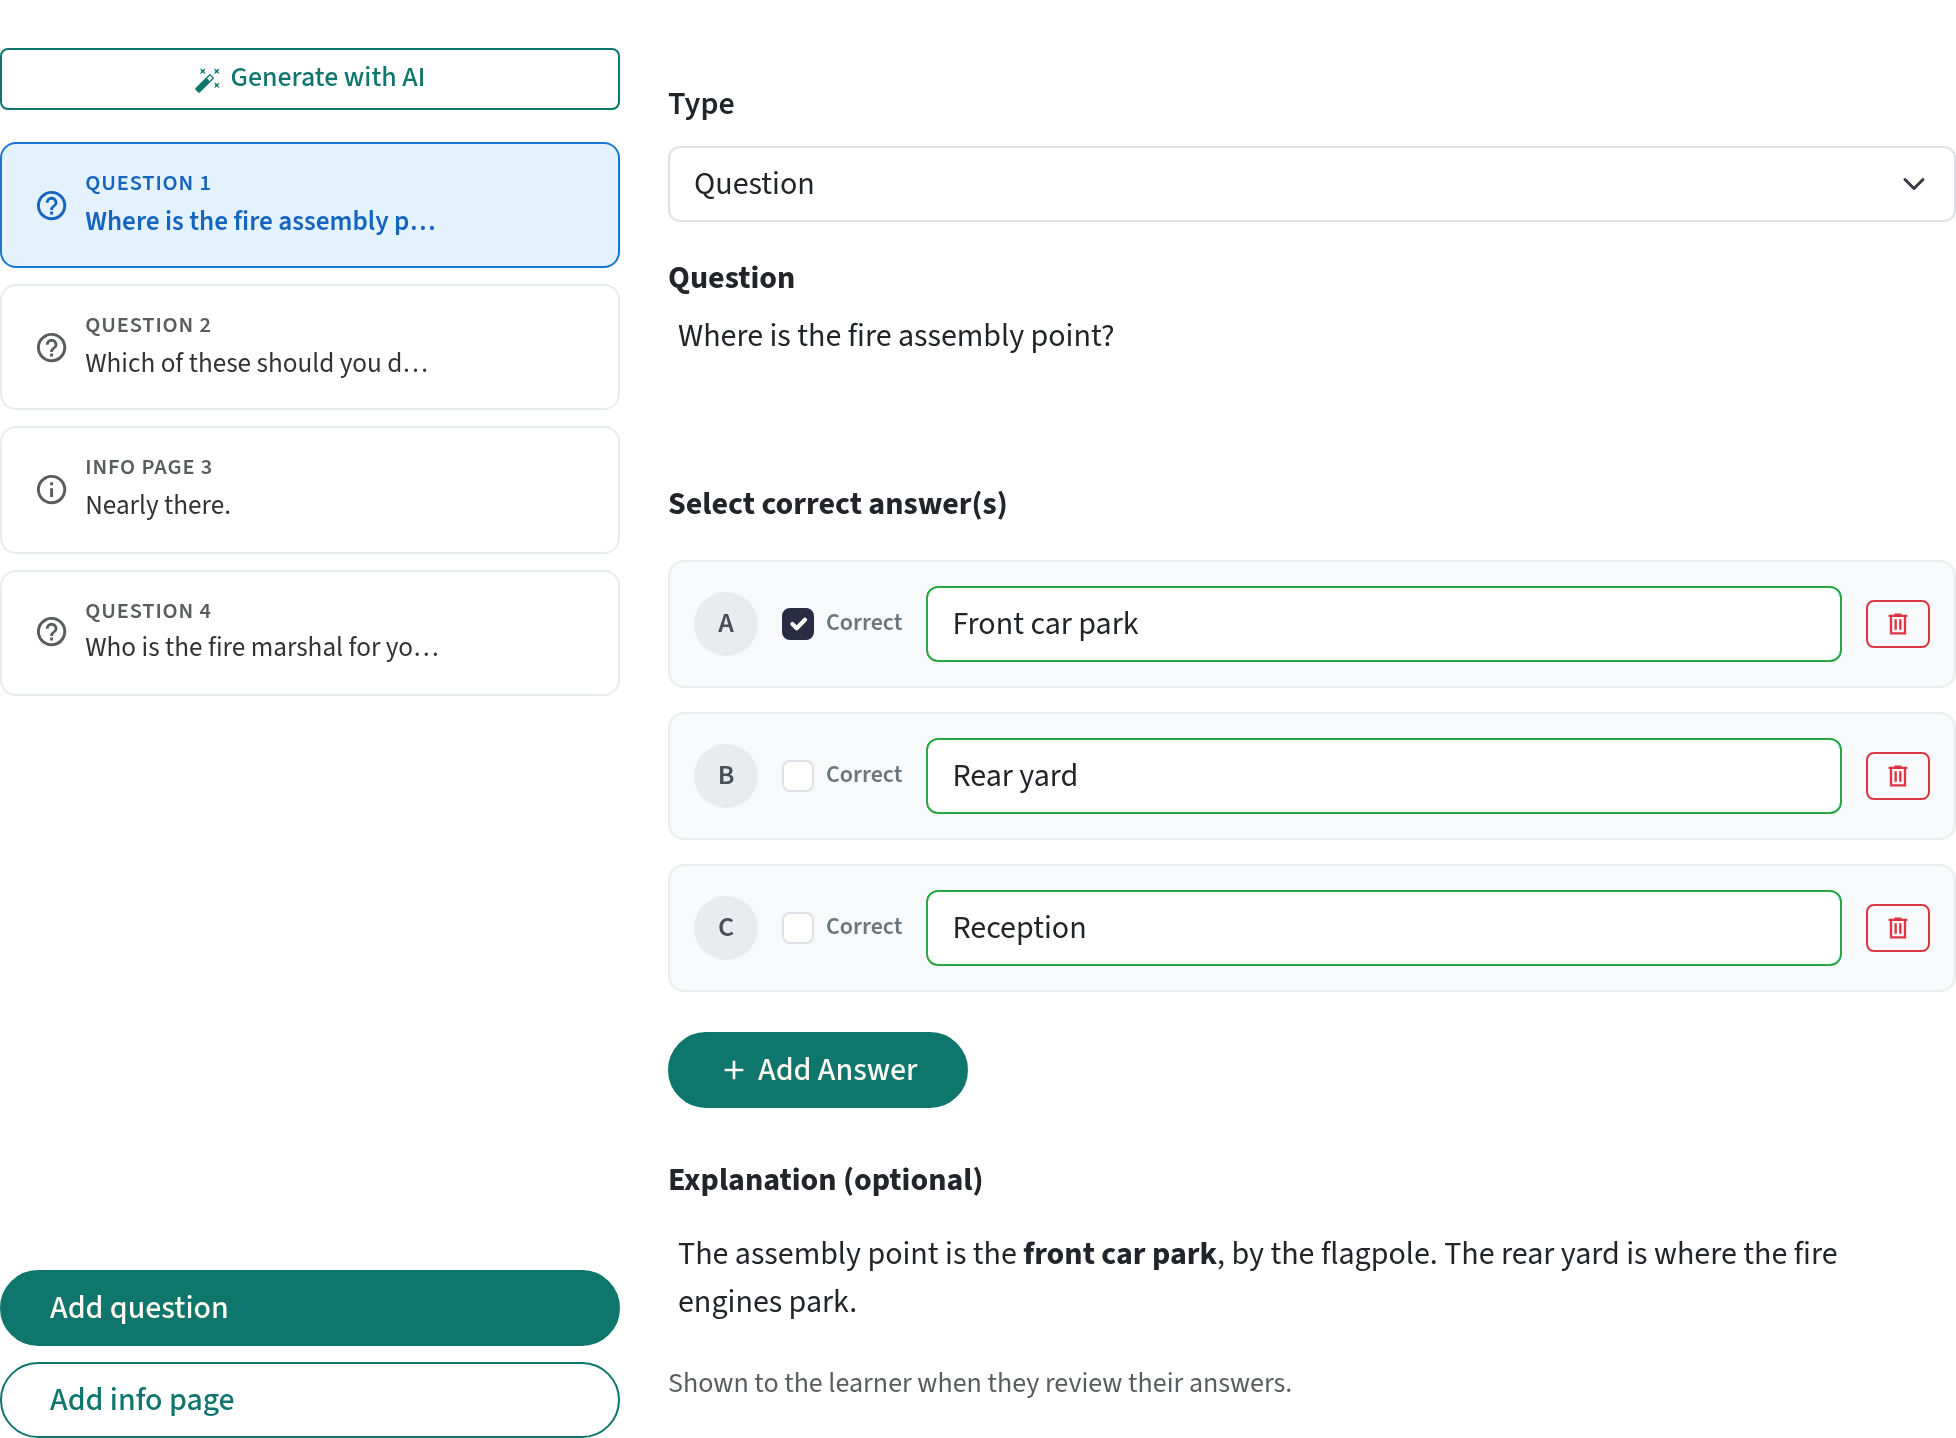
Leave the box empty for questions that don't need one: the review then shows the question and answers without an explanation.
Questions in a question bank have the same Explanation (optional) box. Open the bank under Create > Question banks, pick a question, write the explanation and click Save. Learners see it when a quiz draws that question.
In a course lesson, explanations are only shown on the review screen. They are never sent to the learner's browser before they submit, so they can't be used to look up answers mid-quiz.
Generate with AI on the Questions tab replaces every question, including the explanations you wrote, and it doesn't write explanations of its own. Generate first, then add your explanations.
Choose when learners can review their answers
- In the quiz window, open the Quiz Settings tab.
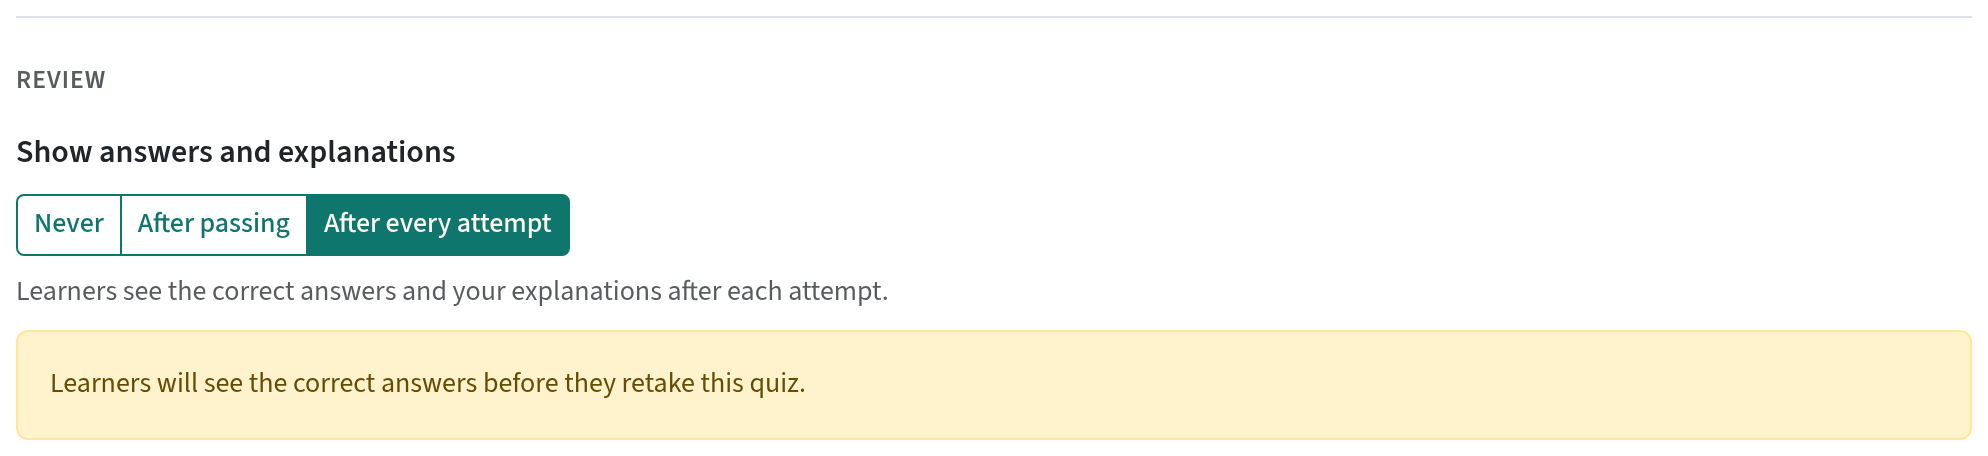
- Under Review, choose an option for Show answers and explanations.
- Click Save in the window, then Save on the lesson toolbar.
| Option | What learners see after an attempt |
|---|---|
| Never (the default) | Only their score and whether they passed. |
| After passing | The review once they pass. If they fail and Allow retake is off, so they can't try again, they also get the review. Until then, only their score. With Pass required off every attempt counts as a pass, so this works like After every attempt. |
| After every attempt | The review after each attempt, passed or failed. |
Which option to pick
- For an assessment that learners must pass, choose After passing. Learners who fail can retake the quiz without having seen the answers, and everyone who passes can learn from their mistakes.
- For practice or a self-check, choose After every attempt. Learners get the feedback straight away.
- For an exam you reuse, where answers must not circulate, leave it on Never.
If you choose After every attempt on a quiz that has Allow retake and Pass required on, the settings show a warning: "Learners will see the correct answers before they retake this quiz." A learner could fail on purpose, read the answers and then pass. If that matters, choose After passing, or draw questions from a question bank and set Number of bank questions per attempt below the size of the bank, so a retake may get different questions (see Question bank in Quiz Settings). The questions you wrote in the quiz itself are in every attempt.
Changing the setting later
The setting is checked each time a learner opens a review, not when they took the quiz. So:
- turning the review on lets learners review attempts they made before you changed it;
- turning it off (or to Never) closes every review straight away, including attempts already made.
Explanations work differently: each attempt keeps the questions as they were when the learner started it. An explanation you add or change later appears in reviews of new attempts only. A learner who has already passed can't start the quiz again, so they won't see it.
What learners see
-
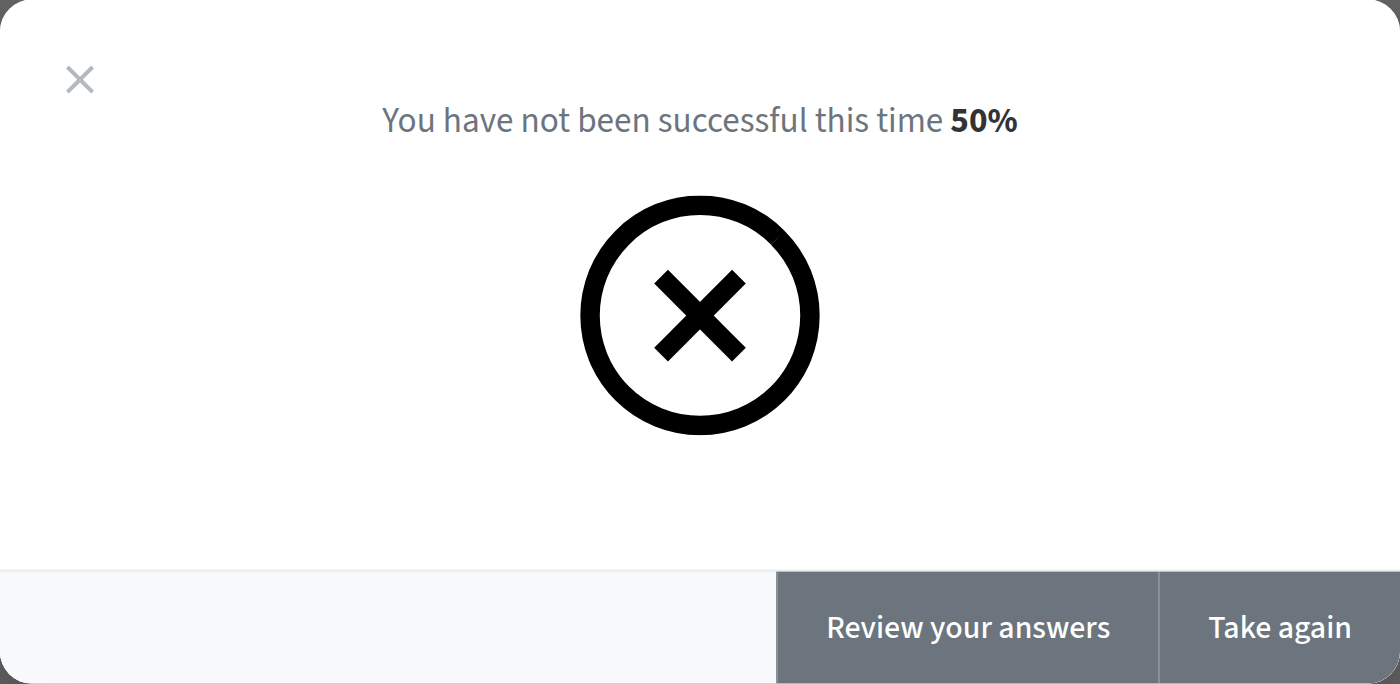
After they click Submit, the results page shows their score. When the review is allowed, it also has a Review your answers button.
-
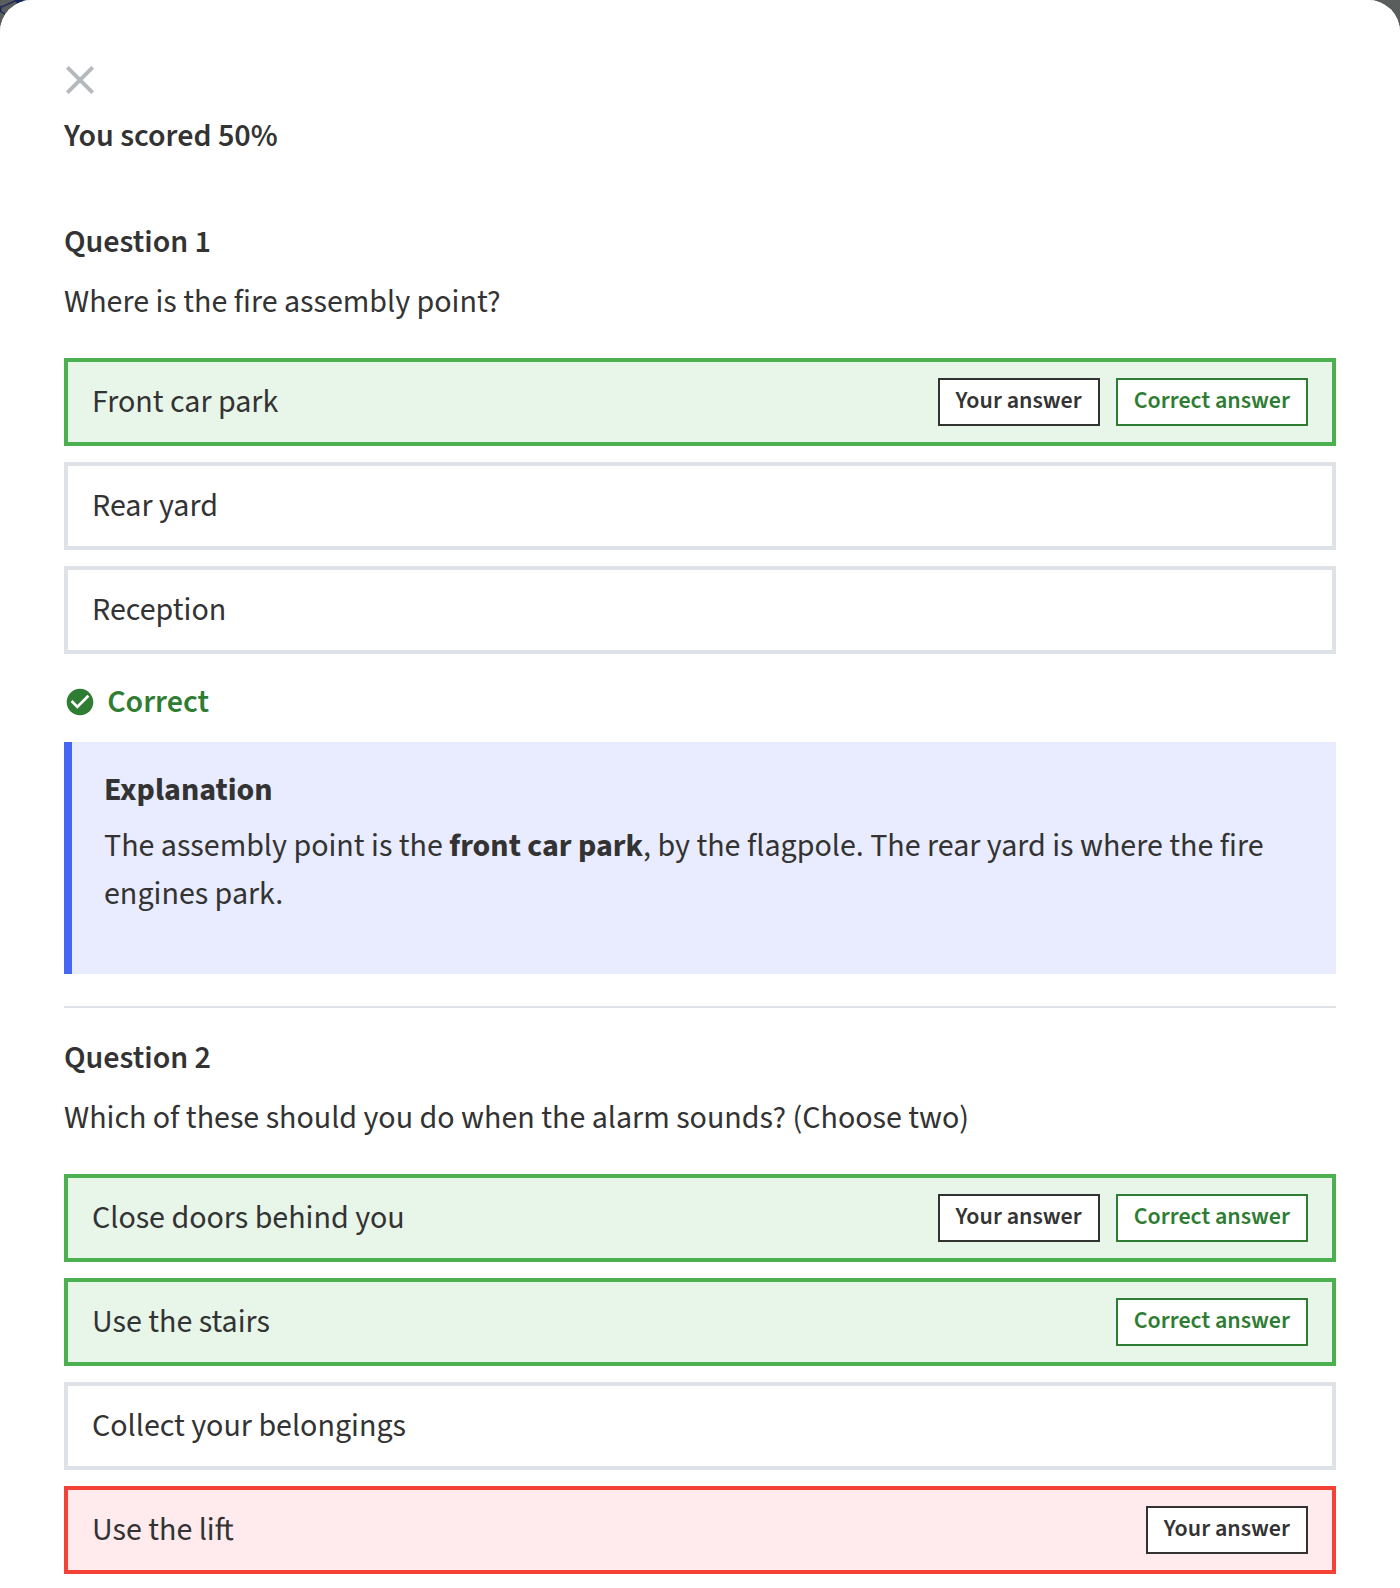
The review lists every question in the order they saw it. Each answer they picked is marked Your answer, and each correct answer is marked Correct answer, with the right answers in green and wrong picks in red. Under the answers, the question is marked Correct, Partly correct, Incorrect or Not answered, followed by your explanation.
-
Back to results returns to the results page. From there, Take again (if retakes are allowed) or Return to course (after a pass) carries on as normal. A learner who failed and can't retake closes the quiz with the cross in the corner.
Partly correct is for a question with several correct answers, when the learner picked at least one of them but missed another or also picked a wrong one. It matches how the score works: each correct answer picked earns a mark. See Scoring in Quiz Settings.
Info pages are left out of the review, so its numbers count questions only. If a quiz has info pages, a question can have a different number in the review from the one it had in the quiz ("Question 4 of 4" in the quiz can be "Question 3" in the review).
Coming back later
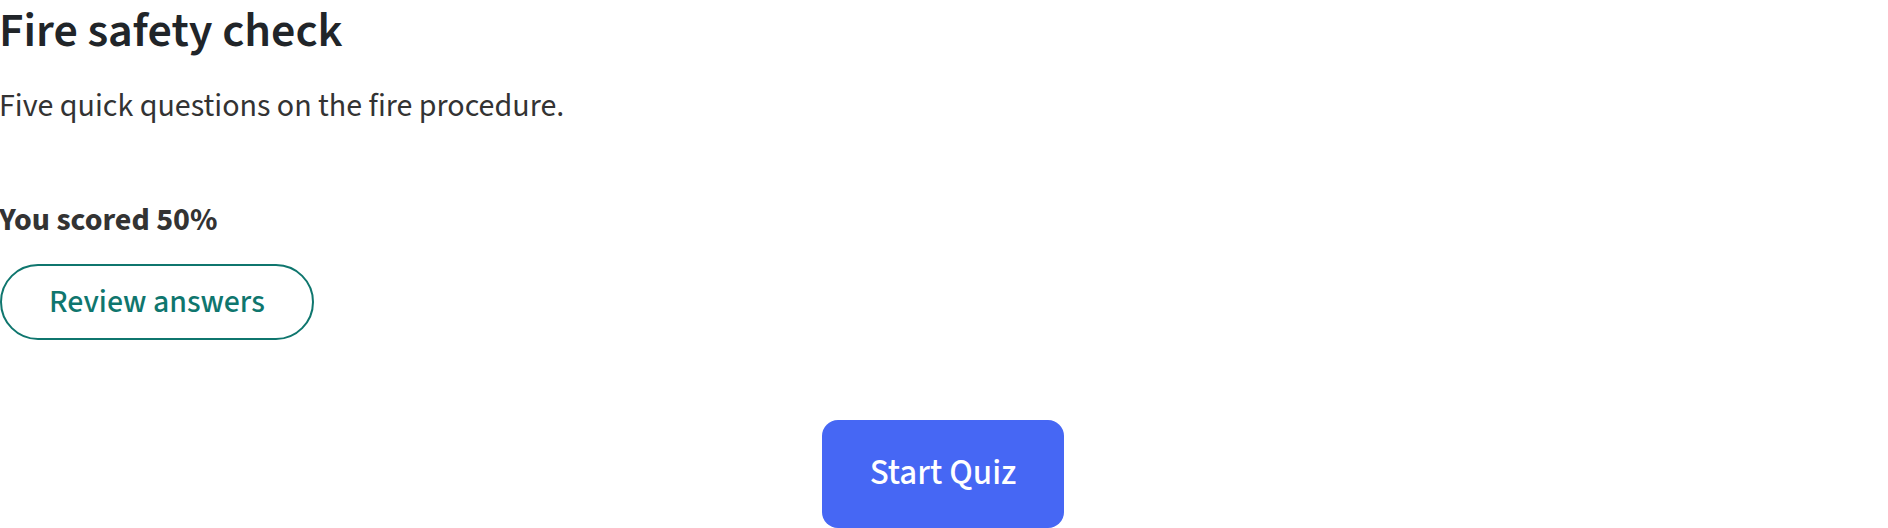
A learner who returns to the lesson sees their latest score on the quiz intro, and a Review answers button when the review is allowed for that attempt. Only the latest attempt can be reopened. Close takes them back to the intro.
The review always shows the questions exactly as the learner was given them, including any drawn from a question bank, even if you have edited the quiz since.
When the review isn't available
Learners won't get a review, even with the setting on, when:
- the setting is After passing, they failed and Allow retake is on;
- they have been removed from the course, or the quiz has been deleted from the lesson;
- the quiz block was moved to another lesson: attempts belong to the lesson where they were taken, so they no longer show a score or a review;
- their progress was reset for a new cycle of recurring training: attempts from earlier cycles stay in reports, but learners can only review attempts from the current cycle;
- the Continuum team has switched reviews off across the platform (rare, and temporary).
Previewing the review
Click Preview on the lesson toolbar and take the quiz to see exactly what learners will see, including the review. If you are an admin or author who isn't enrolled in the course, nothing is saved: your attempt doesn't appear in reports and the review lasts only while the quiz is open. The exception is an open-access course, where everyone's attempts are saved, including yours. See Previewing a quiz.
In other places
- SCORM packages. In an exported package, the player tells the learner after every question whether they were right and, if not, which answer was correct, whatever the setting. With After every attempt, each explanation also appears straight after its question, and the learner can review all their answers at the end. With After passing, the end-of-quiz review opens once they pass (or when no retake is allowed). With Never, there are no explanations or review. Export the package again after changing a quiz. See Embed and SCORM.
- Single-question knowledge checks. Lessons that already contain a single-question knowledge check (for example from an older course) can carry an explanation too. It shows as soon as the learner submits their answer, whatever the quiz settings, because that block marks the answer in the learner's browser. Its correct answer and explanation can therefore be read in the page source, so don't use it for anything assessed.
- Quizzes on custom website pages. A quiz placed on a page outside a course is marked in the visitor's browser, so its answers and explanations can be read in the page source. Use those for practice only.
- Translated courses. Explanations are translated with the rest of the quiz. A translated quiz is shown only when every part of it is translated, so after you add or change an explanation, learners see the original-language quiz until you translate the course again. See Translate a course.
- Imported and AI-written courses. Course JSON imports can include an explanation for each question (see AI course creator). AI-generated quizzes don't write explanations, so add your own.
Frequently asked questions
Can learners see the correct answers while they take the quiz?
Not in a Quiz block. Inside a course, a quiz's correct answers and explanations stay on the server until the learner submits, and learners only see them on the review screen when the setting allows it. Single-question knowledge checks and quizzes on custom website pages are different: they are marked in the browser (see In other places).
I turned the review on but a learner says there's no button.
Check the option. With After passing, a learner who failed a quiz they can retake gets no review until they pass. Also check they are looking at the attempt from the current course: if their progress was reset, older attempts can't be reviewed.
Does turning on the review change scores or reports?
No. Scores, pass marks, completion and reports work exactly as before. The review only adds what learners can see after an attempt.
Can I show the review to some learners and not others?
Not at the moment. The setting applies to everyone who takes that quiz.
Can I see a learner's answers myself?
Not answer by answer. Manage > Reporting shows each attempt's score and a question-by-question breakdown of how many learners got each one right. See Reporting.